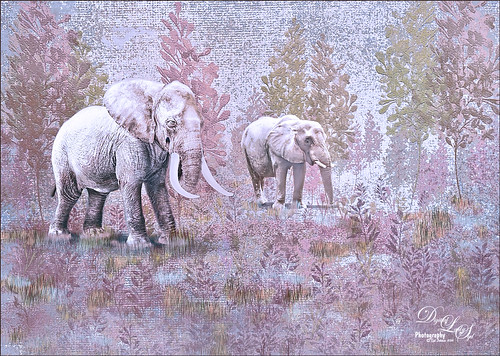
These two guys are from different places – not BFF’s at all – the larger elephant is from that wonderful object program called PixelSquid (see my How To Use the PixelSquid Add-on In Photoshop blog), and the other is from an image I took of the elephant at the Jacksonville Zoo. Just a few steps here: the plants are from brushes created mainly from my favorite plant brushes by Frostbo Brush Grass Set2 with a Bevel and Emboss added to it; both elephants were worked on using Lucis Pro (no long available); Topaz (see sidebar for website link) ReStyle was used to get the correct color effect; and the now free Nik Viveza 2 was used to get the correct focus on the elephants. It actually took me several hours to get the effect, but I love the texture…..Digital Lady Syd

Latest
Beautiful Flower
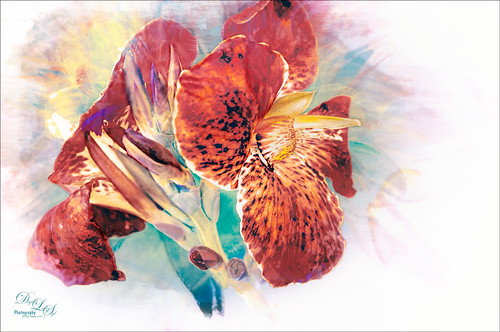
The flower in this image was an orange Canna Lily that grow really well in Florida. Topaz Detail 3 was applied to sharpen the image first in Photoshop. On a stamped layer, the Topaz (see sidebar for website link) Impression 2 preset as created in my Adding a Creative Touch in Topaz Impression 2 was applied, but this time the Coverage was set to 0.12, Coverage Transition 0.03, and Coverage Center X -0.13/Y 0.31. In the Masking section, the Spot Transition was set to 0.93 and Color Aware was set to 0.27 and the effect was placed on the center of the flower. The really bright colorful background could be controlled this way. Next a Black & White Adjustment Layer was added and set to Luminosity blend mode to get the tones correct. (See my How to Use a Black & White Adjustment Layer to See Contrast in an Image for more information on this.) On another stamped layer, Topaz ReStyle was applied a preset that used some colors from a previous image I had processed. (See my How to Use a Topaz ReStyle Trick for Improving Your Image blog to do this.) Two Curves Adjustment Layers were used to apply dodging and burning in the image. (See my How to Use Curves Adjustment Layers to Dodge and Burn an Image blog on how to do this.) On top of those, a Color Lookup Adjustment Layer was applied using the Filmstock_50.3dl filter. A light pink Color Fill Adjustment Layer was placed on top and set to Color blend mode. Last step used the now free Nik Viveza 2 plug-in to draw attention to the focal point. Lots of fun to do!…..Digital Lady Syd
The Beautiful Snowbush
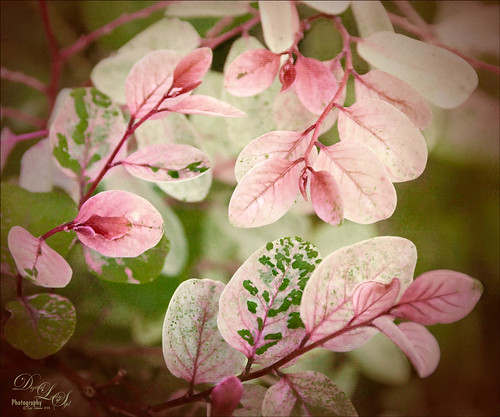
This a beautiful Snowbush growing in my front yard. I just love the colors and patterns in the leaves of this bush. Very simple post-processing here. Duplicated the layer and used Lucis Pro (no longer available) to sharpen the image. A black layer mask was added and just the leaves in the focal point were painted back. One of my Photoshop textures was applied on top (see my Get Rid of That Color! blog that used the same texture and free brush links). A Hue/Saturation Adjustment Layer was clipped (ALT+click between layers to clip) and set to a pinkish color. The texture layer was set to Soft Light blend mode at 68% layer opacity. Topaz (see sidebar for website link) Lens Effects’s Rusty Edges Vignette was applied. A Black & White Adjustment Layer was added on top using a Luminosity blend mode and the sliders were adjusted to get a nice color effect; then it was set to 64% layer opacity. It still needed a little more sharpening – I wanted a more depth in the image so Topaz Detail 3 was opened on a stamped layer on top (CTRL+ALT+SHIFT+E), and the Interior Detail I preset was applied – it looked over the top but there was just the right amount of sharpening in some places. A black layer mask was applied and just those areas that needed were painted back in white. I believe it did add that extra depth that really makes the image…..Digital Lady Syd
Vintage Pottery and Glassware
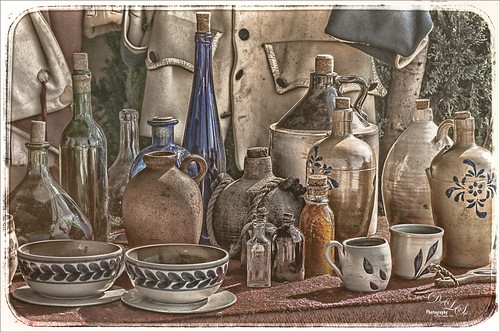
This image was taken at a Native American Festival of a pottery and glassware display. Since the items are so vintage, I decided to a add a vintage feel to the image. After doing some Basic Panel corrections in Lightroom, the image was duplicated in Photoshop and Lucis Pro 6.0.9 (no long available) was used to sharpen the image. A stamped layer (CTRL+ALT+SHIFT+E) was added on top the free Nik Analog Efex Pro plug-in was applied. This filter is really fun to play with and gives some beautiful vintage effects! These filter effects were stacked: Basic Adjustments, Light Leaks, Film Type, Frames, and Levels & Curves which includes a Luminosity curve which is very handy! If you have never used this filter, note that many of the sections allow you to move the effects around within the image. Back in PS, a Red Channel Luminosity Curve Adjustment Layer was created. (See my How to Use a Red Channel to Create a Nice Blended Image Effect blog for more info on this.) On another stamped layer, Nik Viveza 2 was used to emphasize the focal point. It was just slightly too bright for that vintage feel, so a Pattern Fill Adjustment Layer was added using a light cream color pattern set to a Color Blend Mode at 52% layer opacity. That was it! I love the vintage effect!…..Digital Lady Syd
Bird on a Bird Cage
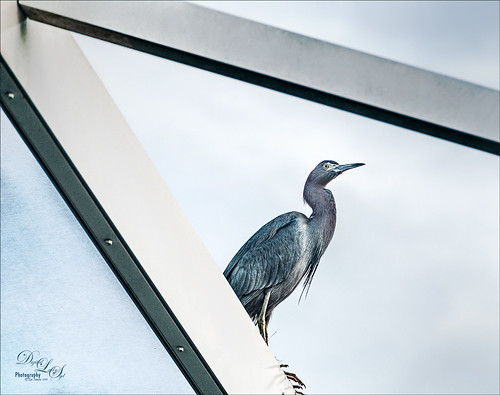
This Little Blue Heron decided to check in on us while we were having dinner on our back porch without electricity after Hurricane Matthew. The screen is blown out there I could get a really nice shot of him. He is a real beauty! Usually I paint these guys, but this time I decided to try out Lucis Pro 6.0.9 (no longer available) on the bird and really liked the results (Enhancement sliders R91/G101/B19 & Assign Original Image Color 5/95). Used the Camera Raw Filter to remove a slight amount of noise the Lucis Pro filter added. On a stamped layer above, Topaz Texture Effects 2 (see sidebar for website link) was applied using the Texture and Vignette filters. The filter mask was used to get the effect correct. Last step was to use the now free Nik Viveza 2 to draw more focus to the face of the bird. That was it. The birds are so pretty around here!…..Digital Lady Syd
Just Being Purple
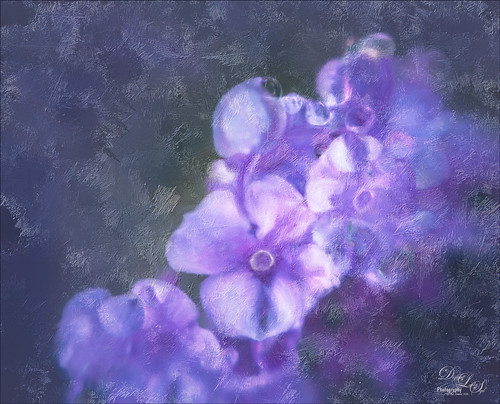
These pretty little purple lantana grown in my front yard and had some fresh water drops on them. Just found out in the reference link that their berries are poisonous and the leaves toxic to animals. It is considered an invasive plant in Florida – all this just to get a few butterflies! Used Lucis Pro (no longer available) to sharpen up the flower edges a little. In the now free Nik Color Efex Pro 4, the Vignette filter and Glamour Glow were used. Lots of petal clean up on separate layers , but what really made this image pop was the Melissa Gallo texture called Snowy Sky set to Linear Light blend mode. This texture gave a really nice icy look which I think goes with purple perfectly!…..Digital Lady Syd
Vintage Car
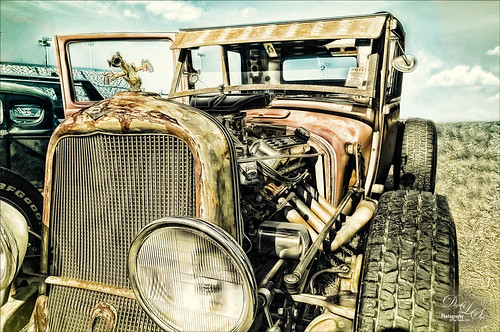
Took this image a while ago at a Turkey Run held in the infield of the Daytona International Speedway (see seats in upper left). Basically just used Lucis Pro (no longer available) set to Detail 65, then opened image in the now free Nik Silver Efex Pro 2 where the High Structure (Smooth) preset was applied. The layer was set to 37% opacity back in PS. Dodged and burned using Curves Adjustment Layers. Used On1 Photo 10 Effects (see sidebar for website link) and stacked these filters: Tone Enhancer, Color Enhancer, Glow, and Split Tone. Topaz (see sidebar for website link) Glow was then applied to a stamped layer above using the Morning Mist preset with some adjustments. It took a while to do this image but it was a lot of fun to try the different combinations of filters!…..Digital Lady Syd
Pololu Valley
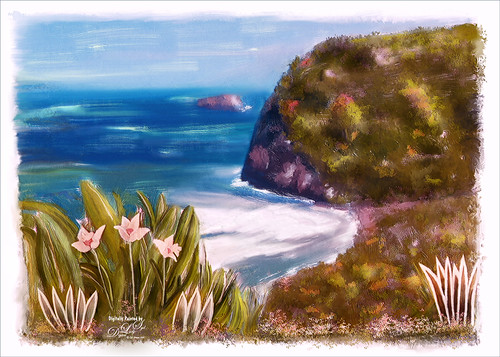
This image was taken a while back on the Big Island in Hawaii of Pololu Valley – I think this shot has been taken a zillion times! Absolutely beautiful place! Thought I would share some of what I am doing with my painting. Still using the Jack Davis Painting Action, this image was painted using all his provided layers and several New Layers with some of my own painting prowess added. I love Henri Rousseau‘s paintings, so I tried to copy some of his painting style in the foreground areas. It was a lot of fun, but took a long time since I am not too good at freehand painting. I figure this is the way you learn how to do it. Several adjustment layers were added on top to try and give an even feel to the image and it was topped off with some of Jack Davis’s gesso textures. If you are interested in painting in Photoshop, check out my More Jack Davis Painting! Fun Photoshop blog for additional info. Lots of fun learning!…..Digital Lady Syd
Riding the London Eye
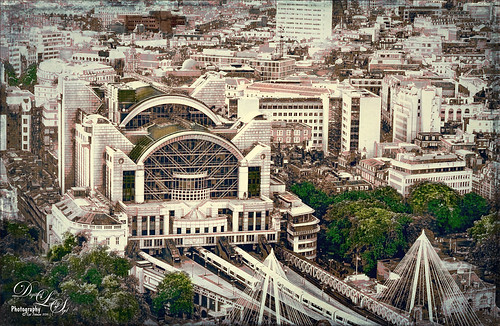
This image of a train station was taken from the London Eye. Topaz (see sidebar for website link) DeNoise 6 was used to get rid of the noise in the shadow areas. The now free Nik Silver Efex Pro 2 was used to convert image to a black and white. On a stamped layer above, Lucis Pro 6.0.0 (no longer available) was set to Enhance Detail 105 and Smooth Detail 95. This layer was set to a Difference blend mode, and the Blend If Underlying Layer white tab slider was used to bring back some of the white in the image. A Red to Gray Gradient Map Adjustment Layer was placed above at 47% layer opacity. On another stamped layer Topaz ReStyle was used to get the a good color balance. Last step was to add Topaz Texture Effects to get the vignette in the image. It was fun to see what stacking these filters would do!…..Digital Lady Syd
St. Trinity Church in Mir, Belarus
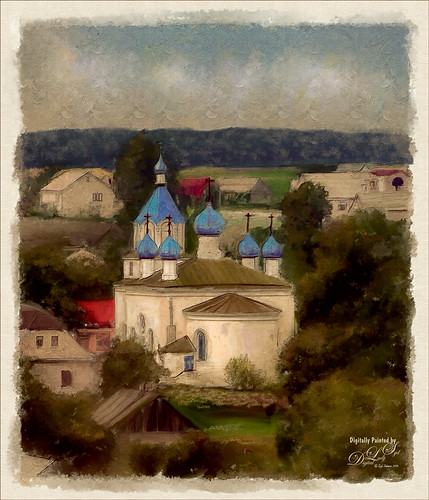
This is an image of the St. Trinity Church as taken from a window at Mir Castle in Belarus. The spire color is fabulous! This image was also painted using Jack Davis’s painting action as discussed in my More Jack Davis Painting! Fun Photoshop Blog last weekend. Very similar steps as the other two images in my original blog. This time I kept the sketch layer turned on and set to Multiply blend mode at 90% layer opacity. Topaz (see sidebar for website link) ReStyle’s Winter Hazel & Wood Bark preset was used to get the vintage effect. I am really starting to enjoy painting using this action…..Digital Lady Syd
Topaz Labs AI Gigapixel
Check out AI Gigapixel stand-alone software for upsizing your images. It’s incredible! And it can now be used as a plugin when in Photoshop. Also Topaz Labs Photo AI has some great sharpening and denoise tools along with Photo Video AI.
Luminar Neo
Click here to visit Luminar for more info and check out their new AI Filters.

GRUT BRUSHES – Photoshop Brushes for Digital Artists
Click here to visit GrutBrushes.com
And be sure to check out his Free Brush of the Week and Brush Sampler! These are the best brushes you can find!

Topaz Studio 2 and Legacy Topaz Labs Filters
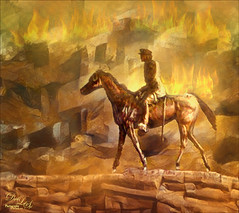
Unfortunately Topaz Studio 2 and other Topaz Lab filters are no longer available for sale as of 2020. If you had bought these filters and would like to put them back on, here is a link to the Legacy Apps where they can be downloaded again. Below is an example of the wonderful Remix AI Filter from Studio 2. The wonderful Impression still works fine in Photoshop right now along with Adjust (all versions), ReStyle, and even PhotoFXLab!
On1 Photo Raw
Wonderful software to use as a substitute for or plugin with Photoshop. Many great filter effects and lots of AI capabilities!
