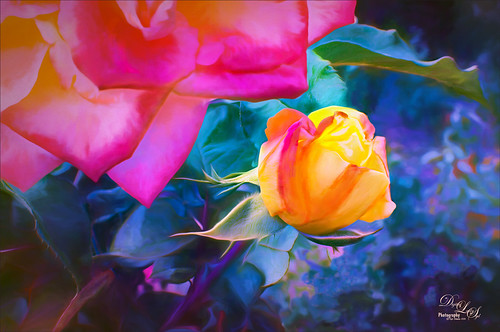
The image was taken at the Harry P. Leu Botanical Gardens in Orlando, Florida in the rose section. This is a beautiful place to photograph flowers – in this case the image was shot at F/22 with my Nikon 60 mm Macro Lens with a Bower 0.5 x High Resolution Digital Lens added to the lens. I know, odd settings but I was experimenting and loved the result. The key to getting this image effect was getting a very clear detailed shot. In Lightroom just basic changes were made and a little sharpening was applied to the bud with an Adjustment Brush set to Clarity 77 and Sharpen 83. Then in Photoshop Lucis Pro (no longer available) was set to Split Channel with Enhance sliders set to R157/G233/B59 and Green Smooth slider set to 25. On a stamped layer (CTRL+ALT+SHIFT+E) was placed above and Topaz (see sidebar for website link) Impression 2’s Georgia Okeefe II preset was applied. In a white layer mask some of the edges were painted out to keep them sharper. Next on another stamped layer Topaz Lens Effects Selective Vignette set to Olive Green preset with effect centered on the bud. Back in PS the layer opacity was set to 74%. Hope to be able to reproduce this result again!…..Digital Lady Syd

Latest
The Red Bromeliad
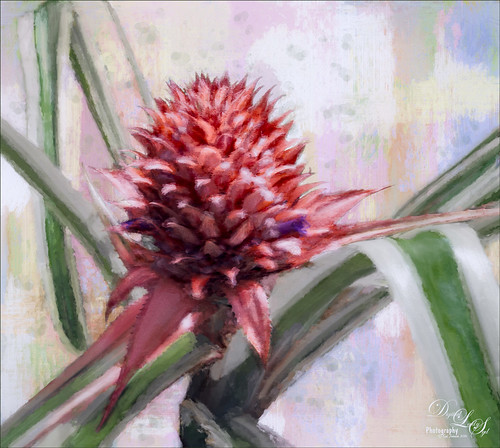
This is a red Bromeliad taken at the Harry P. Leu Gardens in Orlando, Florida. In Lightroom just basic adjustments were done on the RAW file. In Photoshop, the plant was selected using the Quick Selection Tool and then the Select and Mask Panel was used to clean up the selection. This is a wonderful addition to the latest version of CC. One of my Corel Painter textures was placed behind the the selection. Topaz (see sidebar for website link) Impression 2 was opened one of my Impressionistic textures was applied. A Brightness/Contrast and Curves Adjustment Layers were placed on top and the layer mask converted to black by CTRL+I inside the mask. Then just areas I wanted brightened or more contrast added into were painted back. On a New Layer above, a lot of painting using a regular brush to smooth out rough edges from the plug-in was used. Nik Viveza 2 was used to set the focal point in the flower and the last step was to add Topaz ReStyle to get a nice pleasing color palette. Love the final effect!…..Digital Lady Syd
Blowing in the Wind!
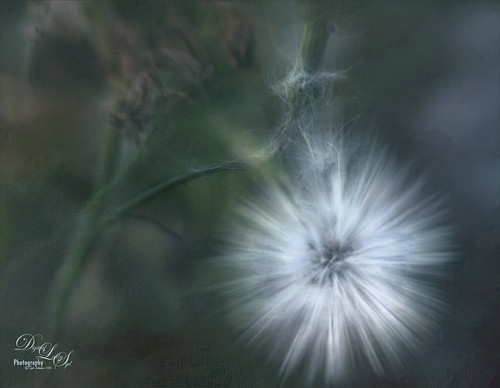
Had some fun with this little dandelion – it was taken using my Lensbaby Composer at F/4 using a Macro +4 Lens. In Lightroom just the regular basic adjustments. In Photoshop Nik Viveza 2 was used to lighten up the white strands in the flower. Then Lucis Pro 6.0.9 was applied using the Split Channels. Next Nik Color Efex Pro 4 was opened and 4 filters were added: Detail Extractor, Glamour Glow, Reflector Efex, and Darken/Lighten Center. Can you tell I was having a lot of fun with this one? Next Topaz (see sidebar for website link) Lens Effects was opened and the Motion filter Type Zoom was centered on the flower to straighten out the strands. In a black layer mask, just the strands were painted back. A Levels Adjustment Layer was used to lighten up the overall image. Next Topaz Texture Effects was used to apply one of my painted textures set to Blend mode Subtract in the plug-in. Back in PS, Melissa Gallo’s Trees in May texture was added and set to Linear Dodge blend mode and 40% layer opacity. That was it! It is so much fun just to play around with an image and I am sure this little dandelion did not care!…..Digital Lady Syd
Orchids Showing Off
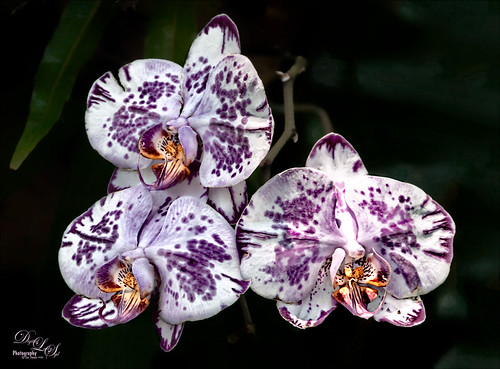
These little beauties were showing off at the Harry P. Leu Gardens in Orlando, Florida. Not much was done to them – just your basic adjustments in Lightroom. In Photoshop, Lucis Pro 6 (no longer available) was run twice – once to smooth the background by setting the Smooth Detail to 19, and once to sharpen the foreground adjusting the Detail settings in each channel (Red 109/Green 103/Blue 101) where the color dialed back to the original amount by setting the Assign Original Image Color at 20/80. Two Curves Adjustment Layers were used to darken certain areas and lighten in others to blend away some shadows. The now free Nik Viveza 2 was used to draw the focus to the center of the flowers. That was it. I really love these flowers!…..Digital Lady Syd
Firebush Plant Spinning Out of Control!
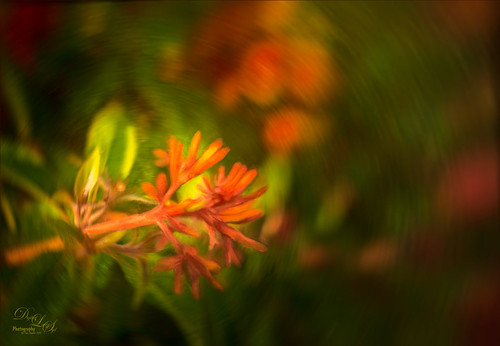
This bright orange-red Firebush Plant has taken over my front yard – I bought it a little over a year ago in the damaged good area for 75 cents. Wow! This image was taken with my older Lensbaby Composer at F/4 with a Macro +10 Lens attached. In Photoshop the image was duplicated and JixiPix Spectrel Art was applied using the Darken Detail preset – the layer was set to Screen blend mode at 48% layer opacity. On a New Layer Grut Brushes MI Swish Mini Mixer Brush was used to paint the plant and red floral areas. Jai Johnson‘s Soulful Sea Breeze texture was placed above and set to Color Dodge blend mode at 64% layer opacity. Then Melissa Gallo’s Mountain Range Texture (not sure her textures are available anymore) was applied above and set to Color Dodge at 34% layer opacity. A Hue/Saturation Adjustment Layer was clipped to this layer (CTRL+ALT between the layers) and the Saturation was set to 0 so no color comes through, just the painterly texture. On a stamped layer above (CTRL+ALT+SHIFT+E) Topaz (see sidebar for website link) Lens Effects Motion Blur filter centered on the flower. On another stamped layer, the now free Nik Viveza 2 was used to further emphasize the focal point. Have a great day!…..Digital Lady Syd
A Palace on Wheels
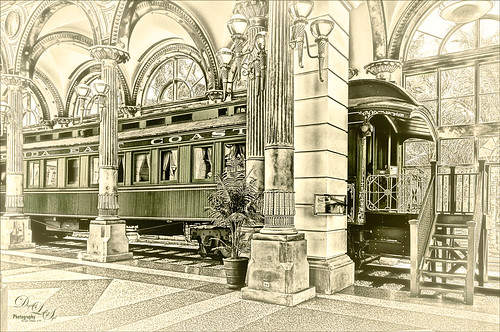
This image is of Henry Flagler’s Railcar No. 91 (see A History of Railcar for No. 91 for an interesting history lesson) or the so-called “Palace on Wheels” from the Guilded Age (CC 1912). It is available to walk through while visiting at the Flagler Museum in Palm Beach, Florida. This image was created using the exact same steps as in my recent Fun Photoshop Blog called How to Get a Great Illustrative Effect with Lucis Pro 6.0.9. First duplicated the background layer and opened up the free Nik Silver Efex Pro 2 using High Structure (Harsh) preset with a few changes for this image. This layer was duplicated and Lucis Pro was applied (Smooth 13/Enhance 97 and Mix with Original Image 81/19) and then duplicate this layer and open up Lucis Pro again with these settings (Split Channels Enhance Detail Red 159, Green 171, and Blue 177 with Smooth at 15). On top a Hue/Saturation Adjustment Layer was added and green color created (Hue 109, Saturation 11, and Lightness -41 with Colorize checked). The layer mask was turned black by CTRL+I in mask and a soft low opacity brush was used to paint back the green in the railcar and set to 44% layer opacity. Another Hue/Saturation Adjustment Layer was added (Hue 187, Saturation 8, and Lightness -7 with Colorize checked). The layer mask from below was copied (ALT+drag) and then invert the layer mask (CTRL+I in the mask). A stamped layer was created on top (CTRL+ALT+SHIFT+E) and Topaz (see sidebar for website link) Glow 2 Auto Shine preset was applied. A Gradient Map was added on the image using a cream to yellow gradient set to Color blend mode at 47% layer opacity. Last step involved another stamped layer and the also free Nik Viveza 2 was applied to adjust where the focal point is. That is it!…..Digital Lady Syd
The Perfect Plant
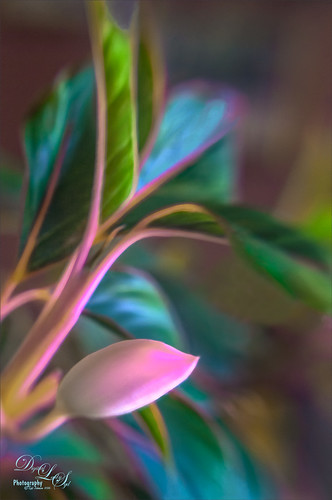
This pretty plant sits on my kitchen table and I am not sure what kind of plant it is, possibly a Sherbert Ti. It creates pod looking objects that open up into leaves. This image was taken with my old Lensbaby Composer and was set to F/4 with the +10 Macro Lens attached. On a duplicate layer in Photoshop, Topaz (see sidebar for website link) DeNoise was opened and the Overall slider was set to 0.10 and Shadows to 0.20 – not much adjustment at all. Topaz Glow 2 was applied on a stamped layer (CTRL+ALT+SHIFT+E) using Blake Rudis’s Glow for Animals Settings preset and set to Color Dodge blend mode. (To download the presets that were for Glow but work fine in Glow 2, click on his Topaz Glow Webinar.) The now free Nik Viveza 2 was opened on a stamped layer and two control points were used – one to sharpen the pod as the main focal point and one to soften the blue in the background leaf. A Luminosity Red Channel Curve Adjustment Layer was added on top. (See my How To Use a Red Channel to Create a Nice Blended Image Effect blog for more info on this.) A little clean up layer and that was about it. Love what this Lensbaby does for a macro effect!…..Digital Lady Syd
Flagler Museum
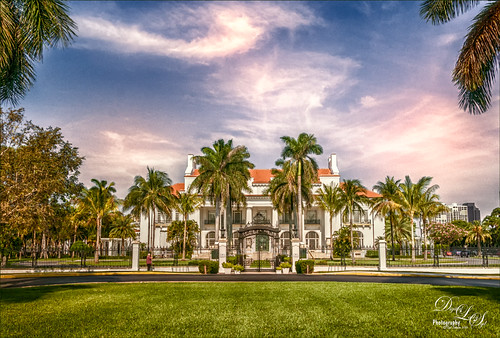
This is the outside of the magnificent Flagler Museum, also called Whitehall, last home of Henry Flagler in Palm Beach, Florida. It is one of the images used in my Fun Photoshop How To Create a Quick Montage blog. This is a great place to take images if you are in the area and has wonderful history! Nik’s free plug-ins HDR Efex Pro 2, Viveza 2, and Color Efex Pro 4 using Midnight filter at 51% and Detail Extractor filter on just the foreground and museum were applied all in one Smart Object. Nik Define was used at default for a little noise removal and that was it. …..Digital Lady Syd
Fantasy Flowers

This image was painted in both Paintstorm Studio and Photoshop. The flowers and part of the background was created using brushes on separate layers in Paintstorm Studio (see my Paintstorm Studio Fun! Fun Photoshop blog for more info on this inexpensive program). Then the PSD file was brought into Photoshop and more tweaking was done. Reflections in the water was made by creating a group of the flowers, duplicating and merging it, and then Free Transforming by dragging straight down. Then the opacity was lowered quite a bit. Used 2 Lil Owls (see sidebar for website link) After the Rain 41 texture set to 23% layer opacity and with a blue to white to blue Gradient Adjustment Layer on top. Used a painting layer to added some plant effects on the water and Obsidian Dawn’s Bird Grouping 2 was placed on top. The birds were selected using the Color Range Command and setting to Shadows – then applied the layer mask to get just the birds in the image. Next a Pattern Gradient Adjustment Layer and a Solid Color Adjustment Layer were clipped (ALT+Click between the layers) to give the birds the color. On a stamped layer (CTRL+ALT+SHIFT+E) Topaz (see sidebar for website link) Lens Effects was opened and the Diffusion filter applied. Back in PS, a black layer mask was added (ALT+click on layer mask icon at bottom of Layer Panel) and just the reflections were painted back – this is where I wanted a softer look. On another stamped layer Nik Viveza 2 was applied to drive the eye more to the focal point, the purple flowers. On a couple of new layers a little cross hatching was painted in the corners and some clean up on some of the flowers that were too bright. A splatter layer was created around the flowers – I just like the effect! The last step was to add a Curves Adjustment Layer. Just lots of fun to create!…..Digital Lady Syd
Screaming On the Coaster!
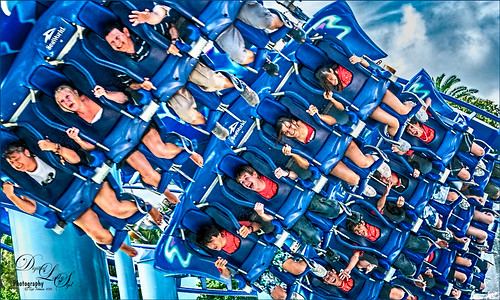
This image definitely represents that so recognizable Lucis Pro look. Loved all the expressions on the riders – the older group on the top row and youngsters having a blast below! This was taken a few years ago of the Manta Roller Coaster at SeaWorld, Orlando, Florida – short video of actual ride. Lots of filters here – Topaz (see sidebar for website link) Adjust on just the sky edge, Topaz Clarity on the people, Lucis Pro 6.0.9 for overall sharpness, Topaz Detail for a final sharpening, and the now free Nik Viveza 2 to reinforce the focal point. Lots of fun here!…..Digital Lady Syd
Topaz Labs AI Gigapixel
Check out AI Gigapixel stand-alone software for upsizing your images. It’s incredible! And it can now be used as a plugin when in Photoshop. Also Topaz Labs Photo AI has some great sharpening and denoise tools along with Photo Video AI.
Luminar Neo
Click here to visit Luminar for more info and check out their new AI Filters.

GRUT BRUSHES – Photoshop Brushes for Digital Artists
Click here to visit GrutBrushes.com
And be sure to check out his Free Brush of the Week and Brush Sampler! These are the best brushes you can find!

Topaz Studio 2 and Legacy Topaz Labs Filters
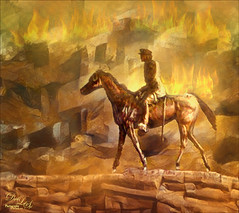
Unfortunately Topaz Studio 2 and other Topaz Lab filters are no longer available for sale as of 2020. If you had bought these filters and would like to put them back on, here is a link to the Legacy Apps where they can be downloaded again. Below is an example of the wonderful Remix AI Filter from Studio 2. The wonderful Impression still works fine in Photoshop right now along with Adjust (all versions), ReStyle, and even PhotoFXLab!
On1 Photo Raw
Wonderful software to use as a substitute for or plugin with Photoshop. Many great filter effects and lots of AI capabilities!
