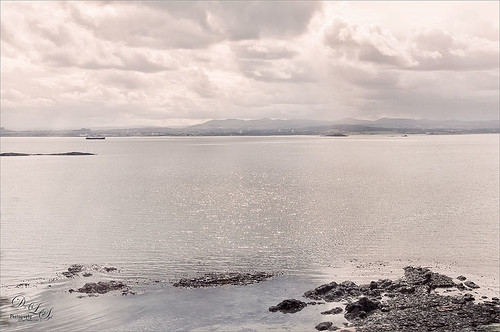
I so love the images I got from Scotland several years ago and I just felt like doing a regular post-processing on an image. This image is probably not the best, but I actually like the total feel of the image so I decided to work on it anyway. The sky in this image is just awesome! So what did I do, well just the basic changes in Lightroom – no presets. In Photoshop the Blur Filter Shake Reduction was used and help a little bit. Also Nik Viveza 2 was used to tone up the foreground rocks. A stamped version (CTRL+ALT+SHIFT+E) was created on top. Next Nik’s Color Efex Pro 4 was opened and Flypaper Textures Fly Shell Collection preset was applied (it contains the Cross Processing and High Key filters) – I am enjoying these presets as Flypaper Textures has created some very nice filter combinations in this set. A couple layers of clean up were done to add some contrast in the background mountains. Then my biggest problem in this image was a little bit of chromatic aberration with red edges around the rocks. I could not get Lightroom to remove them so I still had this issue. This time I added a Black and White Adjustment Layer, filled the mask with black, zoomed way in, and with a small 4 pixel white brush set to 70% brush opacity, painted out the red so it became desaturated. It took a bit of time but it did the trick and now there is no more edge color issues. The last step was to add in a slight pinkish Color Fill Adjustment Layer set to Color blend mode at 20% layer opacity to the whole image – just wanted a little warmer feel to the image. Now I have the view I want to remember!…..Digital Lady Syd

Latest
Mid-Year – Painting Project Progressing!
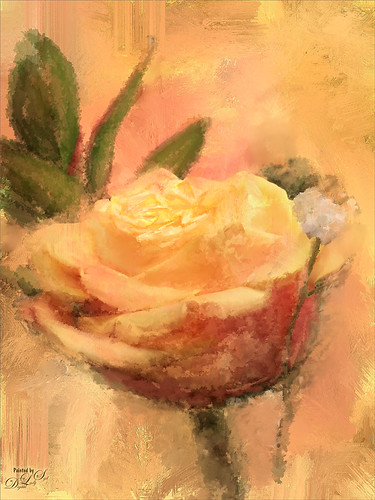
I am over halfway on my journey to achieving my New Years Resolution of learning to paint and here is an example of where I am at. This image was taken at the grocery store on my cell phone. Therefore I had a little sharpness issue, but with painting, you can do a little improvising. The texture was from Melissa Gallo at Painted Textures called Sunrise Canvas. This beautiful texture is one of several provided in her Painting with Photoshop workshop – this workshop is the first time it has really “sunk in” on how to do this. Melissa is an artist and Corel Master, but she teaches the Photoshop painting techniques very thoroughly. This image used her brushes. Anyway, I really am getting into this painting thing and it is totally fun! Oh yes, and how did I improvise that little bit of detail I wanted in the top of the flower? Well I used a technique covered in my blog called The Best Dodging and Burning Technique! and created a burn layer set to Overlay to sketch in a few lines with a small round brush at 12% brush opacity. Very subtle!…..Digital Lady Syd
Some Pretty Flowers on an Old Vintage Building
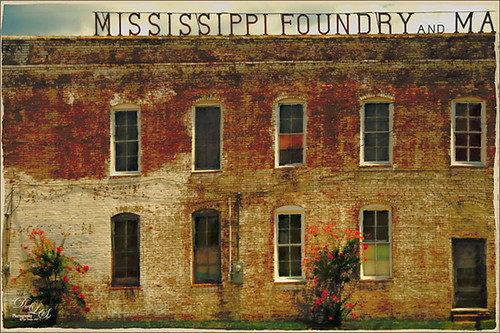
Just an old vintage photo I found that looked like fun to process. A lot of clean up was done on this image and it was straightened by selecting the whole image, then pressing CTRL+T, then the Warp Tool in the Options Bar. This made a huge difference! Don’t forget you can always straighten an image up with the Transform Command, not just Puppet Warp or Perspective Warp. I applied one of my presets in Topaz (see sidebar for website link) Black & White Effects and Topaz Restyle (not sure which preset). A little grunge border was added and that was it. Very simple!…..Digital Lady Syd
Leaking Some Light on Calton Hall in Scotland
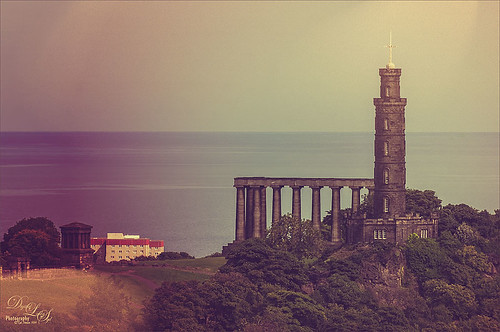 Not sure how I missed processing this image in my Scotland shots, but I really like the light leak effect on Calton Hall as taken from Edinburgh Castle in Scotland. First used Seim’s Power 4 Workflow (see sidebar for website link) Lightroom preset Harsh Sun Fixer. In Photoshop applied both Topaz (see sidebar for website link) Detail 3 and Topaz DeNoise before adding the light leak. Learned a little technique this week from a very nice website called FX-Ray -there are some wonderful light leak jpg’s that can be downloaded for free (this image used Light Leak 03) along with a short video tutorial that explains how to use them. Really loved the results!…..Digital Lady Syd
Digital Lady Syd Related Blogs:
How to Create/Use a Light Leak
Thing One Thing Two – Hum!
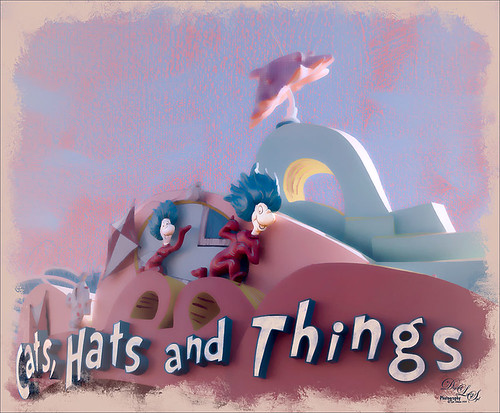
I just loved Thing One and Thing Two in The Cat in the Hat story and here they were on the building for the ride at Universal Studios Orlando‘s Seuss Landing – got a pretty cool abstract look totally by mistake! Love these kind of mistakes! In Lightroom used Seim’s (see sidebar for website link) Workflow Power 4 preset called Ugly Shade Fixer – I think one of his best presets since I seem to be always shooting in bright light and I either have too much shadow or darker areas in my images. Still applied a few Basic slider adjustments. In Photoshop the image was straightened, cropped, and content-aware filled using to give a nice presentation. Used a texture that actually looks like crayon coloring on the image that I made a long time ago – perfect for this type of image. There were painted touch ups all over the place, especially in the letters that were too drab – wanted them to match the face coloring. A stamped layer (CTRL+ALT+SHIFT+E) was created and Topaz (see sidebar for website link) Detail 3 was opened. One of the cool things about this plug-in is that they have in the Stylized Detail Collection some absolutely wonderful abstract presets. That is how I got this dreamy result – basically started looking at their presets and just liked how it looked. I have used these presets before on some butterflies to soften the colors in the wings – pretty nice set of presets. Changed a Color section settings to adjust the overall color and in the Effect Mask section, painted over the whole character bodies with a brush Strength set to 0.80, just a little more on the the faces painting with a Strength of 0.40 to draw the attention there. Last step was adding a painted border I created in Painter a while back and setting a Color Fill Adjustment Layer to sampled color. That was it and here is very magical, dreamy look at characters!…..Digital Lady Syd
Digital Lady Syd Related Blogs:
Digital Lady Syd Reviews Topaz Detail 3
The Old Cream Separator
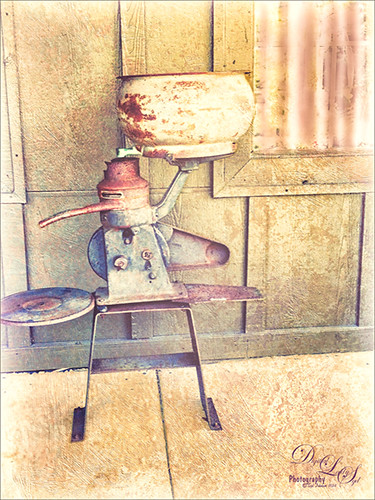
Loved this piece of antique machinery – a vintage cream separator (check out this link if you ever wondered how this works like I did) – that was outside one of our local Cracker Barrel restaurants (and where I bought my office friend Ted). Had to take a picture! I actually opened this image up on an old laptop and applied Nik’s legacy plug-in Color Efex Pro 3.o’s Cross Processing L08 at 80% strength. I did have to paint in some light curtains over the window using my Adobe Chalk 60 Brush set to 19% Angle Jitter to remove the reflections in the glass – used a Gaussian Blur on the layer afterwards to soften the effect. Then Nik’s Analog Efex Pro 2 was used to get the real vintage feel. Just the Basic Adjustments, Lens Vignette, Frames, and Levels & Curves filters were used. What makes this vintage look work is that the Luminosity curve is adjusted to make the object show up sharply. This is my favorite feature in this plug-in! That was it and a really nice vintage effect is achieved!…..Digital Lady Syd
Texturizing at The Lost Continent

This is an eatery sign at The Lost Continent in Universal Studios-Orlando. Since there was building scaffolding in the background, it looked like a great choice to try out my new textures from Denise Love at 2 Lil’ Owls Studio (see sidebar for website link). This one used is called Sublime 11, which I consider is one of her best textures and I have most of them, and The Grey Collection 11 set to Overlay at 11% opacity. Layer masks were added to both textures to bring back the detail I wanted to use and my Chalk Brush (Adobe Chalk Brush 60 with a Shape Dynamics Angle Jitter set to 19% in Brush Panel) was used to do this. I like the way it gives a more painterly edge to the strokes. Next her Delicate Paints 10 texture was added to warm up the image and was set to Vivid Light blend mode at 65% layer opacity. A Curves Adjustment Layer was used to add a little contrast back into the image since textures tend to remove contrast. On a stamped layer above (CTRL+ALT+SHIFT+E) Topaz (see sidebar for website link) ReStyle was used – not sure how I got the effect but just went through several of their presets until I found one that I liked – then I adjust the sliders to make it work. On a New Layer on top, the focal area was sharpened up by adding a little white paint and painting in darker paint for distracting areas. Really loved the final result – this is so much fun and thank you 2 Lil’ Owls for these wonderful texture you have been selling!…..Digital Lady Syd
A Little Vintage Dr. Seuss
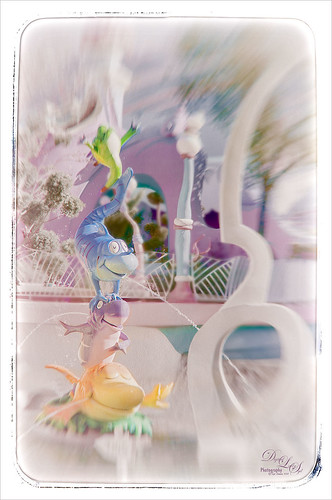
Just another fun shot from Universal Studios-Orlando in Orlando. Apparently I got a lot of what I call “fun” shots and they are fun to process! This image has 2 Lil’ Owl Studios (see sidebar for website link) Transfer Texture 10 added and the main characters painted by on a white layer mask. It was set to Saturation Blend Mode at 100% layer opacity. On a stamped layer (CTRL+ALT+SHIFT+E) above, one of my favorite creative plug-ins, Nik’s Analog Efex Pro 2, was applied – the Zoom feature was used to get the cool blurred background effect. Back in Photoshop on a New Layer, the Sharpen Tool was used to sharpen the faces just a little. That was basically all that was done but I think it turned out really cute!……Digital Lady Syd
A Little Brush Fun!
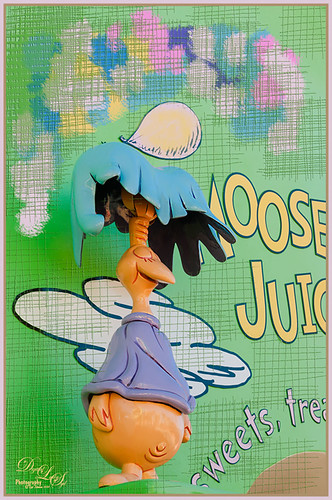
This funny character was part of a sign on a candy store in Dr. Seuss Land at Universal Studios-Orlando and looked like it would be fun to just play with it. Since he was on such an overwhelming green background, I added a new layer and just started using a Mixer Brush to add different blotches of paint to the image. Then on a New Layer above, a brush that I had created was used for the cross hatching effect- just liked the look of it once I added a Bevel and Emboss Layer style to it and set the layer opacity to 55%. To get the hatching off the lettering, a layer mask was added, but first the “Layer Mask Hides Effects” check box was checked in the Layer Style dialog. That way the hatching could be carefully removed from the figure and lettering. The Sharpen Tool was used on the character’s face. A stamped layer (CTRL+ALT+SHIFT+E) was created on top and my free SJ Mid Size Double Edge Frame was added – colors were sampled from the image. This a really cute image was jazzed up a bit by just adding some creative brush strokes!……Digital Lady Syd
More St. Augustine – What a Beautiful City!
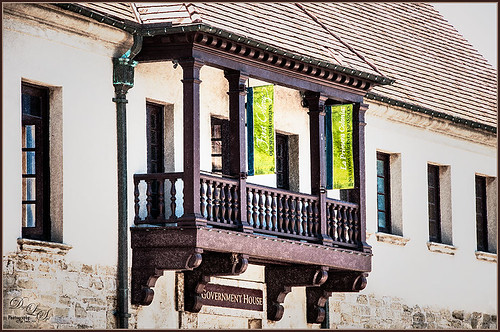
This is an image of the Government House Museum in St. Augustine, Florida – it was the original Courthouse that governed Florida when it was just a territory. Wow – I just realized this image is an optical illusion – it does not look like a rectangle although it is one! In Lightroom Seim’s Power 4 Workflow (see sidebar for website link) Magic Flat Light Fixer preset was applied with some basic changes. In Photoshop Alien Skin Snap Art 4 plug-in was opened and Pencil Sketch was applied with two masks to bring out more detail on the balcony and the stone. Just a Curves Adjustment Level for overall contrast and a Levels Adjustment Layer to add even more contrast but with a black filled mask – just the stones and some parts of the windows were painted back. The last step involved adding the Camera Raw filter and two radial filters to draw focus to the flags and balcony even more. I really love visiting St. Augustine and seeing all the beautiful architecture!…..Digital Lady Syd
Topaz Labs AI Gigapixel
Check out AI Gigapixel stand-alone software for upsizing your images. It’s incredible! And it can now be used as a plugin when in Photoshop. Also Topaz Labs Photo AI has some great sharpening and denoise tools along with Photo Video AI.
Luminar Neo
Click here to visit Luminar for more info and check out their new AI Filters.

GRUT BRUSHES – Photoshop Brushes for Digital Artists
Click here to visit GrutBrushes.com
And be sure to check out his Free Brush of the Week and Brush Sampler! These are the best brushes you can find!

Topaz Studio 2 and Legacy Topaz Labs Filters
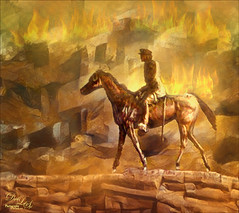
Unfortunately Topaz Studio 2 and other Topaz Lab filters are no longer available for sale as of 2020. If you had bought these filters and would like to put them back on, here is a link to the Legacy Apps where they can be downloaded again. Below is an example of the wonderful Remix AI Filter from Studio 2. The wonderful Impression still works fine in Photoshop right now along with Adjust (all versions), ReStyle, and even PhotoFXLab!
On1 Photo Raw
Wonderful software to use as a substitute for or plugin with Photoshop. Many great filter effects and lots of AI capabilities!
