Anything Photoshop or Photography

Latest

Just Another Topaz Black & White Effect Example

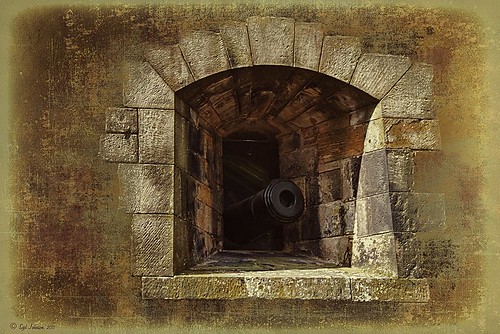
This image was taken at Edinburgh Castle in Scotland. I just keep playing around and finding new looks for images. The cannon and opening were selected and placed on their own layer, then a white layer was added below it, and a texture from ShadowHouse Creations Another Mixed Bag  Texture Set (some really beautiful free textures on this site) was added. On several layers above and below using different colors from the image, various brush marks were added using Gorjuss Grunge Again brushes (unfortunately these are no long available), some really nice brushes to add a bit of color and detail. Create a composite and duplicate this layer. Next use the Topaz Black and White plug-in with the Opalotype Collection Effect and Yellow Lilac preset as a start. A lot of changes were made in the Conversion and Finishing Touches panels and Detail and Burn brushes were used to emphasize the stone. (See my Fun Photoshop Blog “Topaz B&W Effects Plug-in – a Real Winner!) and Tidbits Blog “Topaz B&W Effects vs. Nik’s Silver Efex Pro” for more information on this plug-in.) The plug-in layer was set to 52% opacity back in Photoshop. A Curves Adjustment Layer was added and some sharpening applied. It was a really fun image to do.

Hope you got an idea for creating a little different effect with this plug-in…..Digital Lady Syd

Topaz B&W Effects vs. Nik’s Silver Efex Pro

I did a blog on my Fun Photoshop Blog called “Topaz B&W Effect Plug-in – A Real Winner!” that touched on some of the differences of Topaz’s new plug-in and the great black and white standard plug-in by Nik called Silver Efex Pro 2.0. I thought I would just mention a few other things I noticed that are definitely different about the two programs.

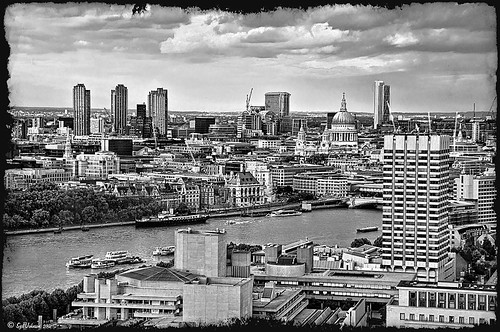
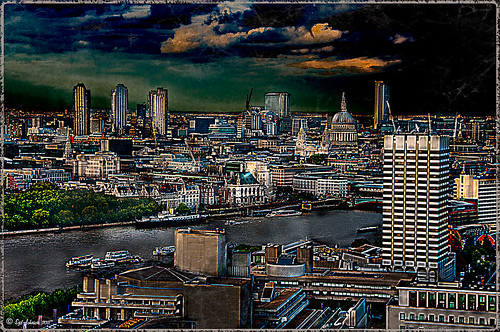
Below is one of my favorite images for trying out new effects (the original has some basic flaws so I can see if the product will correct it) and was taken from the London Eye. Topaz B&W Effects was applied (hover over or click on image to see the Nik version).

This is as close as I could get to making the two plug-ins look alike. The sky and some of the buildings’ contrast and detail are slightly different, but overall the results are pretty much the same. I am not sure which version I like best.

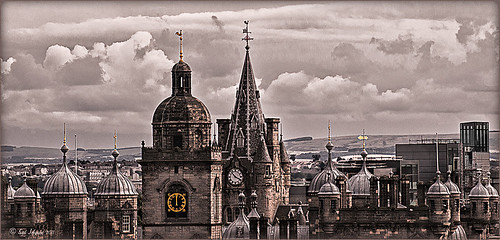
The image below I also used Topaz B&W Effects.

In this case, I could not duplicate the results in either NIK Silver Efex Pro 2.0 or Color Efex Pro 3.0. I liked the results and was surprised how nice the image turned out. By the way, I created for the Topaz plug-in a SJ-Cityscape preset for use in the Traditional Collection for both of the Topaz images – it can be downloaded here.

My final thought is to say that I think there is a place for both black and white plug-ins. Nik’s black and white plug-in is considered the best and I am not sure Topaz has created a better one, but it is very close. Topaz B&W Effects is definitely a great product since it does several things the other plug-in cannot do – and I really like that.

Well I hope you have fun (I sure am) trying out both of these excellent products. I plan on experimenting more with Topaz’s B&W Effects and will post more on it later……Digital Lady Syd

PS. Be sure to download the 30 day trial for Topaz B&W Effects – it is a fully functional trial to try out!

Pseudo HDR in the Works

I am working on a new technique for the Pseudo HDR look I wrote about last week. (See my blog post called “With One Good Photo – Try the Pseudo HDR Effect“) that I will be posting on my Fun Photoshop Blog soon. Here is a preview of what I am working on – hover over image to see original image with just ACR adjustments made.

Check out my Fun Photoshop Blog shortly for more examples and instructions on how to do this….Digital Lady Syd

Brushing up on Circles!


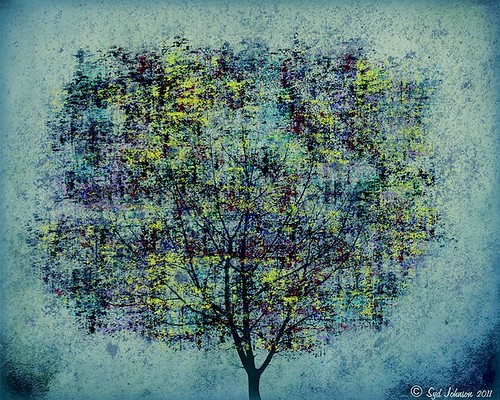
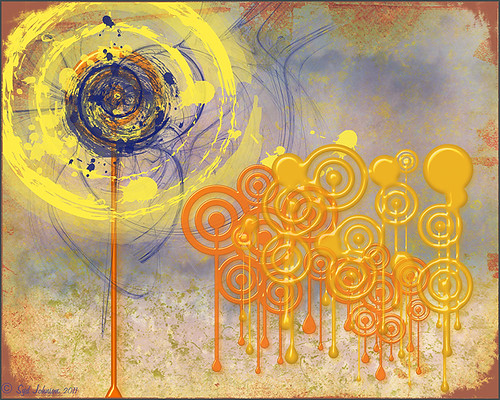
Well, for some reason I felt a little inspired and decided to play around with some really nice circle brushes. I know I have seen a similar look in some of the images sold in discount stores. With a couple textures added, a very nice grunge look can be achieved, and the best part is that you can choose your own colors to get the feel you want.

If you are interested in the circle brushes, both sets can be downloaded from Ar-Bent-Ing called 10 Dripping Photoshop Circle Brushes and 15 Grunge Circle Brushes.  A couple textures, one from Shadowhouse Creations, were added, some layer styles to the brush layers, and basically that is it. Not real hard and a lot of fun! (Digital Lady Syd’s Rule No. 2) ……Digital Lady Syd

Got That Rainy Day Feeling!

This week I found this really nice action called “Rainy Day Photoshop Action” whose link I thought I would share with you. I have never seen one that looks this realistic. There are three actions that you run one after the other to get the final cool effect: The Main Action, Little Drops, and Condensation (to give the water on the window feel). Hover over the image above to see the original image. (I will show you how to adjust the perspective with another blog shortly.) You can add layer masks and adjust opacity of each of the major elements to get the look you want.

Here is a little different look using the same action. (Hover over image for original also.)

Try it out and see what effect you can get!…..Digital Lady Syd

Like a Chameleon – The Color Replacement Tool!

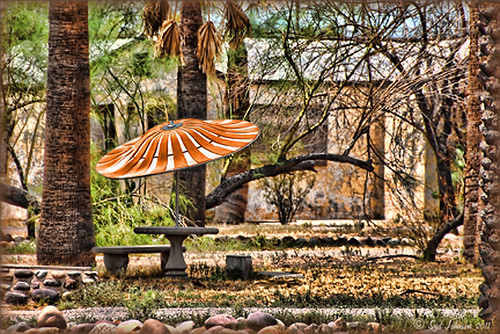
Below is a 7-image Camera Raw HDR file (using Merge to Photoshop Pro in CS5)  where just one color was changed very quickly but created a big impact. Hover over the image to see the original image.

I used a little known tool, the Color Replacement Tool, which is hidden in the toolbox with the Brush Tool. It has been in Photoshop since CS but over the different versions, it has been placed with different tools. Not sure why it is not used more as I found it very easy to make this change.

Do your original clean up to the image. The last thing to do is use the Color Replacement Tool on the umbrella. Using the Color Replacement Tool, create a brush in the drop-down box. My settings were: Brush size 33 pixels, Hardness 0, Spacing 1%, Angle 0, Roundness 100%, and since I use a Wacom tablet, I set Size and Tolerance to pen pressure. Other settings in the Options Bar were Mode – Color, Sampling – Continuous icon pressed, Limits – Find Edges, Tolerance 30% and Anti-alias checked. Set Foreground color in the color picker to the new color and drag/paint away. Remember the brush only changes the pixels you drag over – try using a selection of the area you are changing to keep the brush from spilling over into other parts of the image if adjusting the Tolerance does notwork. It is amazing how it turns out!

I saved the brush settings as a Tool Preset (upper left icon on Options Bar) for the next time I want to replace a color quickly. (It is saved as a Tool Preset because of all the changes to be saved from the Options Bar that saving as a Brush preset will not retain.)

Try experimenting with some of the other settings. It is also used to get rid of red eye in images. I love it when I learn something new in Photoshop!…..Digital Lady Syd

Digital Lady Syd’s Rule No. 3: Look Back at What You Have Done

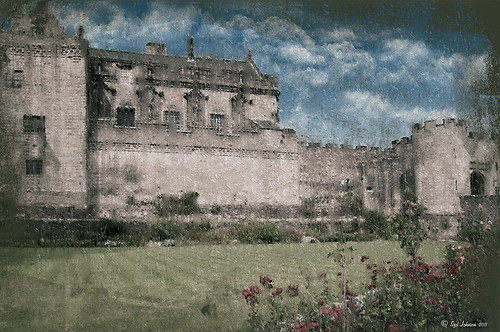
This week I was working on my Fun Photoshop Blog (Getting to the Art of the Matter) which entailed adding 38 images into a template. I wanted a certain feel to the images I was going to add so I decided to go back and review some of my older work. I discovered there were many techniques I have used quite effectively in the past and had totally forgotten about – it added a whole new perspective to what I have been working on recently. And some of the effects I did not think were that great a few years ago, I now think turned out quite nice.

The image above is one of these cases when I was just learning about how to apply textures. This image involved just adding Matt’s Old Texture as a layer, set to Multiply blend mode, lower the opacity, and with a layer mask, paint out where the texture should not be. Pretty quick and uncomplicated but the results were really nice.

Guess it is just good to see where you have been so you can see where you are going. Next time you are stuck, take a few minutes and go back to see what was going on when you were first working on images. You might get a new inspiration that will help get you back on track (like I did)!…..Digital Lady Syd

Fixing up a Boring Picture

When you need a twist for an average looking image, try a texture or two to give it a new look. Here is a fairly average looking water tank image from Madison, Mississippi, that I shot because for some reason I love to photograph them. Hover over the image to see the before shot (only electrical lines had been removed at this point).

I was really pleased with the results. I found some beautiful vintage oil painting textures from a site called Shadowhouse Creations. This site has some wonderful resources so check it out when you have a chance. I applied the first two textures to my image, both layers set to Hard Light at 80% opacity. Added layer masks to clean up where the texture was too harsh. Painted in using my SJ-Cloud Brush Set – Brush #1 and some birds. That’s it.

I love the way Photoshop can make anything look great by just using a little creativity! Try it out!……..Digital Lady Syd

(BTW-For more information on textures, check out my Fun Photoshop Blog called “Adding a Texture for Flair!” )

I Didn’t Know That! Randomizing Gradients

Once again I stumbled upon another interesting feature in Photoshop. I learned from the new Practical Photoshop Magazine that you can actually generate a randomized gradient when in the Gradient Editor. This is not a feature that pops right out at you when looking for it.

  1. First click on the Gradient Tool and in the Options Bar, double click on the gradient preview window to bring up the Gradient Editor.
  2. Set the Gradient Type to Noise, Roughness to 100%, and check the Add Transparency box. If not set to Noise, you will never find the button.
  3. Click the Randomize button several times until you get the lines you like – then click OK
  4. Now drag the Gradient Tool on your layer to create the gradient.

Below is an image I used a Randomized Gradient to create a colorful background. I threw in a few of my cloud, a bird, tree and grass brushes from some of the posts I have done on my Fun Photoshop Blog.

Totally cool and fun!  And now you know…..Digital Lady Syd

Where Am I?

Have you ever been driving around and found a place that was begging to have it’s picture taken? This happened to me last week. I love that HDR look anyway, and am still struggling with which software to use. I tried Photoshop CS5’s Merge to HDR, Photomatix Pro, and Nik HDR Efex Pro before settling on the NIK HDR Efex Pro version. I wish someone would put all the good stuff together so I do not have to keep going through several iterations to get the best look.

All right, so where was I when I took this image? Right in the middle of Mesa, Arizona at Main Street and Recker Road. (Click image to see location at my Flickr account.) It is an old mineral spring motel (circa. 1930’s) whose owner died a few months ago and it is in a bit of disrepair. I loved the sign and got several other shots you will probably be seeing eventually. If you are in the area, it is really easy to find and will give you a great HDR opportunity.

To quote an article called the National Organization Announces Ten Most Endangered Roadside Places, “…..in the 1930s, the owners discovered a mineral well on the property, and constructed Roman-style bathhouses and guesthouses for visitors. In the 1940s the baths played a role in bringing the New York Giants spring training camp to Mesa, leading to the eventual establishment of Mesa as a center for baseball spring training. The resort remained open and operated by its original owner until 1999.” Here is a link on the efforts to preserve this interesting motel …..Digital Lady Syd