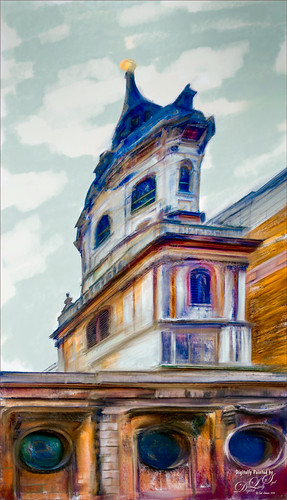
Had some fun today painting this unusual building that was taken in London several years ago. This time the building was actually distorted in Lightroom using the Lens Correction section and the Manual tab before bringing the image into Photoshop to paint. Used Lori Jill’s Photoshop technique on Udemy and her rushes to paint with the mixers. GrutBrushes.com ‘s special effect Cloud Kewm was used to paint in some clouds since no blue or clouds were in the sky. Topaz (see sidebar for website link) ReStyle’s Tierra Frost preset was applied with adjustments. Last step was to use Nik Viveza 2 (now free) to emphasize the upper two stories for the focal point. That was it – definitely a bit spooky looking!…..Digital Lady Syd

Latest
Waiting for Spring
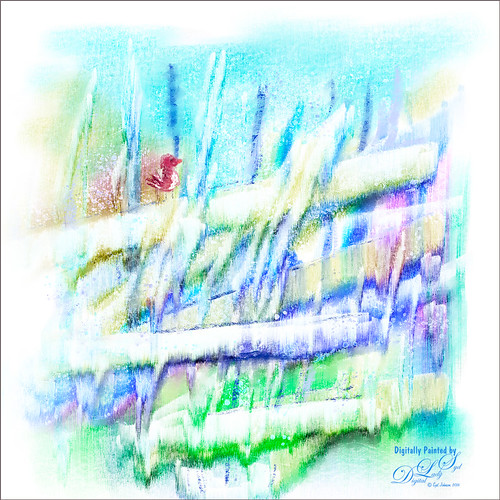
Just had some fun painting in Corel Painter. This image was created using several of Melissa Gallo watercolor brushes from her Painting Spring class. Really nice course and am having a lot of fun watching the videos. The bird was painted in Photoshop using my friend Nicolai’s Ink brush Brezh Brow and Pastel brush Re-Cc – check out his huge variety of wonderful brushes at GrutBrushes.com and his free weekly brush. Nik Viveza 2 (now free) was used to emphasize the bird just perfectly. Lots of fun playing with these brushes!…..Digital Lady Syd
Spring Is in the Air!
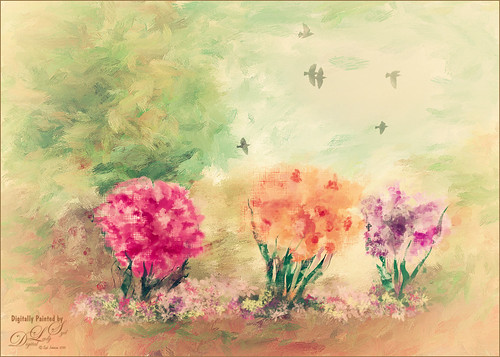
I really love painting flowers in Paintstorm Studio as the colors look so wonderful. Therefore the three pretty blossoms were painted using several Paintstorm brushes – a watercolor brush, a cross hatch brush, and two manga hair brushes for the leaves. Then in Photoshop a brush from Ruan Jia called Leaf 5 with some hatching texture added and color to create the flowers on the ground – scroll down to find download and check out all the other sources of some wonderful brushes. The birds are from a Lost & Taken set photo IMG 4721 set to Multiply blend mode at 33% layer opacity (not sure these are still available) and a Pattern Fill Adjustment Layer with a watercolor pattern was clipped to it to give a little texture to the birds. The background texture is one I created in Painter a while back. Topaz (see sidebar for website link) Lens Effects Graduated Neutral Density filter using 1 Stop Bottom preset. Finally Nik Color Efex Pro 4 (now free) was added using these filters: Darken/Lighten Center, Film Efex Vintage, White Neutralized, and Vignette Filter. That was it. I really like the results!…..Digital Lady Syd
A Pretty Fancy Carousel Horse!
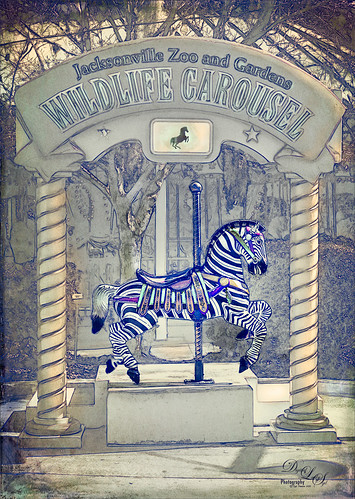
Just another fun pix from the Jacksonville Zoo the Wildlife Carousel photo op area. To get this rather interesting effect, an inexpensive action I purchased a while ago called Mix Art Sketch Painting Photoshop Action was applied to get this nice halftone sketch effect. It has a lot of choices to select when using it. After running the action, Topaz (see sidebar for website link) Texture Effect was opened and the Vibrant Grunge preset was applied. The layer was set to Multiply. Otherwise just some clean up layers and a little Nik Viveza 2 (now free!). Loved the effect. I need to work a little more with this action, but I see lots of possibilities……Digital Lady Syd
Meet the Super-Model Parrot
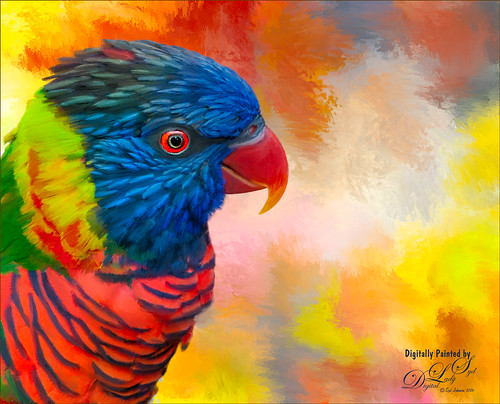
Just a simple little painting of a Rainbow Lorikeet (parrot) taken at the Jacksonville Zoo a few months ago. These little birds were so tame and would let you get so close to take pix – real-life bird super-models! I really enjoyed painting this happy little guy and I tried out a new Photoshop brush to paint him. The background is one I painted in Painter to match the colors in his plumage…you have to consider these kind of things when working with super-models! Used Topaz (see sidebar for website link) ReMask to select and then applied the mask once happy with the selection in PS. It was found in a large free set of brushes from Alex and this brush was named 扇形扁平混合器 (which means Flat Fan Mixer). Unfortunately I cannot find the batch of brushes to share. Just changed the Angle in the Shape Dynamics section of the brush to paint with the brush and change the size to fit. The duplicate texture was added on top and set to Multiply at 53% layer opacity. An Exposure Adjustment Layer was used to create sharp looking painted eyes. And that was it. Try out the brush – you will really like it as a nice blending mixer!…..Digital Lady Syd
Hanging Out with the Family
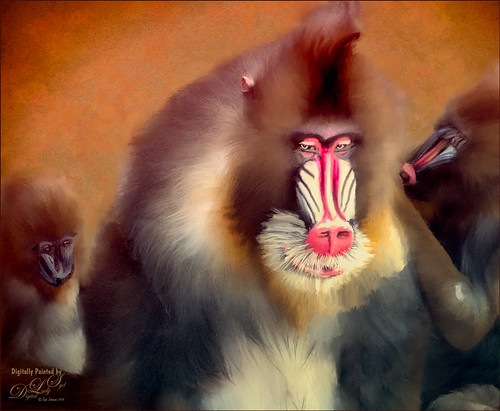
I decided to see if I could paint this interesting Mandrill family image a taken at the Jacksonville Zoo a few months ago. I wish I had had time to watch them for a little longer – the center monkey is a male with a female and male on the sides.
I was not sure how the fur would turn out painted, but with a little experimenting it can be done. I first separated the monkeys from their really dark busy background using Topaz (see sidebar for website link) ReMask 5 – still the best in my mind for doing this type of selection. Next a texture was added that I had created a long time ago – rather plain but with lots of texture in it. A Hue/Saturation Adjustment Layer was placed above the texture to make a pleasing color to match with the monkeys. The monkey ReMask layer mask was applied to the image so painting could begin – I always duplicate this layer and then turn off the original in case something was missed and the mask needs to be redone. Ten layers of painting were used to get the effect needed – all brushes were Fay Sirkis (it’s a shame but I do not think her Child Portrait or Pet Brushes are available anymore even from KelbyOne). Her Palette Knife Soft Blender was used to get the nice fur fluff look – moved the Shape of the brush to match the direction I was painting. Her Portrait Child Blender was used to get the detail areas for the faces. And her Portrait Children Single Hair Blender to add some individual hairs. On a stamped layer Topaz Lens Effects’s Toy Camera Awesomeness I preset with the Camera Shake set to 0 was applied. Last step was to use Nik Viveza 2 (now a free to download) to emphasize his eyes and get a soft overall vignette effect around the edges. Hope you enjoyed…..Digital Lady Syd
Some Blue Berries
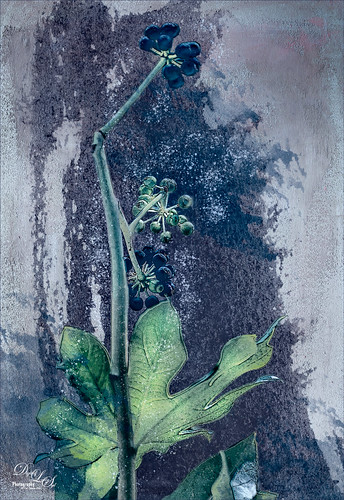
Just wanted to try something fun and creative. These beautiful blue berries were found growing at the Jacksonville Zoo a few months ago. The berries and leaves were selected in Topaz (see sidebar for website link) ReMask 5, mask was applied, and a French Kiss (see sidebar for website link) texture called Solstice Zenith was placed behind them. On the berries, a Photoshop Filter was used – Artistic -> Poster Edges set to 2/1/4 was applied. French Kiss Grunge Brush 15 was placed underneath the berries and Grunge Brush 14 was applied to add some texture. A spatter brush was used around the berries just to give a magical feel to the image and set to 67% layer opacity. Topaz ReStyle was used to give a slightly different color palette and finally Nik Viveza 2 (now free) was used to direct attention more fully to the green foreground leaf. Just a lot of fun!…..Digital Lady Syd
Taking a Break!
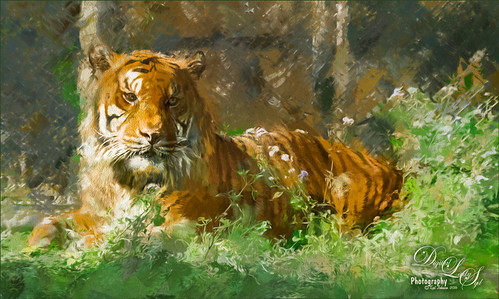
Just another of my tiger pictures from the Jacksonville Zoo. This guy so looked so relaxed. This time used On1 (see sidebar for website link) Effects 10 and the following filters: Tone Enhancer, Color Enhance, Sunshine, and HDR Look. This made a huge difference in the color and contrast! I am still experimenting with the updated and more stable plug-in. On a stamped (CTRL+ALT+SHIFT+E) layer, Topaz (see sidebar for website link) Impression was opened and used my SJ Building preset on it. Then I used the Spot Healing brush to remove the chain effect behind him but leave a little bit of effect. I really liked the results. (See my How to Use the Spot Healing Brush – Really Improved Now! blog.) A little Nik Viveva 2 (remember it is free now) and that was about it. Need to get back to the zoo and take some more pics of these beautiful animals!…..Digital Lady Syd
Heron on Watch Duty
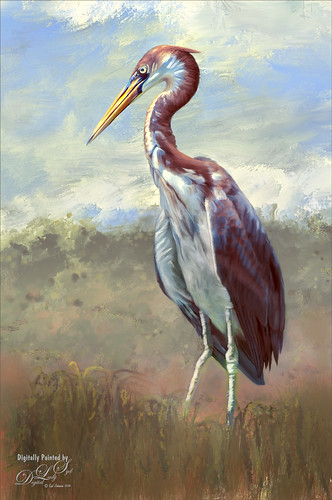
Just having fun painting yet another of my favorite subjects, the birds. This guy is a tri-colored heron taken at the St. Augustine Alligator Farm a few years ago and I just missed him. I loved all the beautiful colors of feathers he was displaying! This was done using my standard workflow where the bird is selected in Topaz (see sidebar for website link) ReMask 5, then the bird is painted on top of a new background texture, one I painted in Painter. Used Grut’s Photoshop mixer brush called Twig Scuffle for the fore grass plants. Topaz ReStyle’s Silver and Ivory Cloak preset was used to adjust the color palette a little. Last step was to apply Nik Viveza 2 to even out the focal point to his head. That was it – I just love to paint these birds!…..Digital Lady Syd
Painting the Town
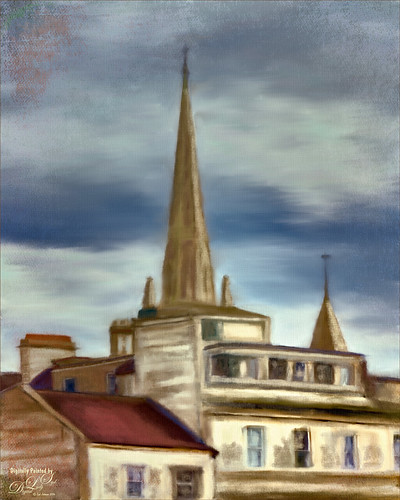
Just having some fun painting and seeing what effects I can achieve. Following Lori Jill’s Photoshop technique on Udemy. Used some of her brushes to do the underpainting and painting in some of the details. I decided it needed a little more of a painterly look, so a brush I created using my Pastel 3 brush and adding the Gauze texture to it to get the nice soft cross hatching brush effect to paint on the image. (See my How to Use Photoshop’s Brush Texture Section for Painting Clean-up to create basic brush – then change Texture to Gauze, Scale 123%, Brightness -75, Contrast 50, Mode Multiply, Depth 86%, Min Depth 100%, and Depth Jitter 50%.) A Bevel and Emboss layer style was added to the whole image and the Texture was also set to Gauze, Scale 221% and Depth +51 to get the same effect on the whole image. That was basically it. It is fun to try and paint different types of images. Last 3 Lil’ Owls (see sidebar for website link) overlay called Color Bokeh Grunge Set – #5 was added on top and set to Overlay blend mode. Still learning, but it is coming along…..Digital Lady Syd
Topaz Labs AI Gigapixel
Check out AI Gigapixel stand-alone software for upsizing your images. It’s incredible! And it can now be used as a plugin when in Photoshop. Also Topaz Labs Photo AI has some great sharpening and denoise tools along with Photo Video AI.
Luminar Neo
Click here to visit Luminar for more info and check out their new AI Filters.

GRUT BRUSHES – Photoshop Brushes for Digital Artists
Click here to visit GrutBrushes.com
And be sure to check out his Free Brush of the Week and Brush Sampler! These are the best brushes you can find!

Topaz Studio 2 and Legacy Topaz Labs Filters
Unfortunately Topaz Studio 2 and other Topaz Lab filters are no longer available for sale as of 2020. If you had bought these filters and would like to put them back on, here is a link to the Legacy Apps where they can be downloaded again. Below is an example of the wonderful Remix AI Filter from Studio 2. The wonderful Impression still works fine in Photoshop right now along with Adjust (all versions), ReStyle, and even PhotoFXLab!
On1 Photo Raw
Wonderful software to use as a substitute for or plugin with Photoshop. Many great filter effects and lots of AI capabilities!
