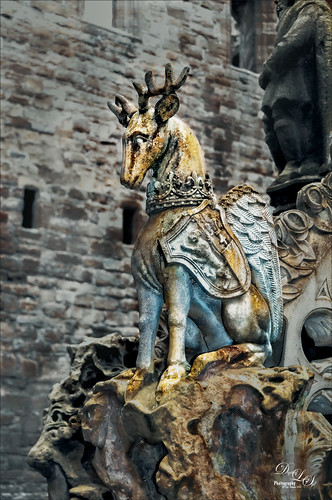
This image is of a a fountain built in 1538 by James V at the old Linlithgow Palace in Scotland – it has been known to flow with wine on a few occasions. This actual center fountain is not this colorful, but these colors came from the image itself so I imagine at some time it was quite beautiful. I loved the regal look of this deer statue on the fountain. On1 (see sidebar for website link) Photo Raw Effects 2018 made this image really nice and sharp – used Overall Settings filters of Dynamic Contrast (which really adds the nice detail to just the deer), Glow (47% opacity) and Color Enhancer, and Local Adjustments of Vibrance to just the deer at 57% layer opacity. On a stamped layer, Topaz ReStyle (see sidebar for website link) Zambezi Zest preset was applied. Nik Viveza 2, a Black and White Adjustment Layer and several Curves Adjustment Layers were used to get the final look. On a New Layer a white Spotlight Effect was added to the deer head to draw the eye. That was it. Wonderful place to visit and explore!…..Digital Lady Syd

Latest
A Golden Snow on a Clock Tower
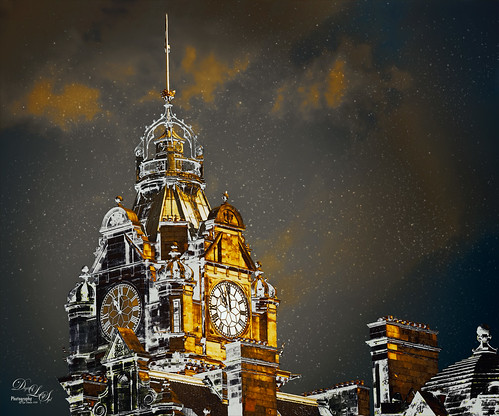
If you have ever been to Edinburgh, Scotland, you will probably recognize the historic Balmoral Hotel and Clock Tower that is near the Train Station (since 1902 the clock is set 3 minutes fast so people do not miss their trains). I was just playing around with the image thinking it might make a nice black and white image when I can up with this result. Started with a rather vintage looking preset from my LR 4 days. It gave that really nice warm feel that looked nice. Then it was cropped and Lucis Pro (no longer available) was applied to overall sharpen the image – it was way overdone. Not sure why I tried this, but I set the layer to Divide blend mode and got all this wonderful snow on the shadow side of the tower! A black layer mask was added to hide most of the effect and just painted in the white snow areas. The layer was then set to 92% layer opacity to let some of the sharpness show through. On a New Layer a particle brush created from Corey Barker’s video called Corey’s Universal Particle Brush was used to add the falling snow effect and set to 59% layer opacity. It looked pretty nice just this way. On a stamped layer (CTRL+ALT+SHIFT+E), Topaz (see sidebar for website link) ReStyle – one of my very favorite Topaz filters – was opened and this is basically what it looked like by using the Peat and Rock preset. This is why I love this filter – you always get some interesting results you had not thought of trying. It has not been incorporated with their Topaz Studio interface yet. Next used the Matt K vignette technique (see my How to Create a Subtle Vignette blog) to create a soft vignette effect. I kind of like the illustrative look created by using the Divide blend mode on this image. Lots of fun here!…..Digital Lady Syd
Happy New Year!
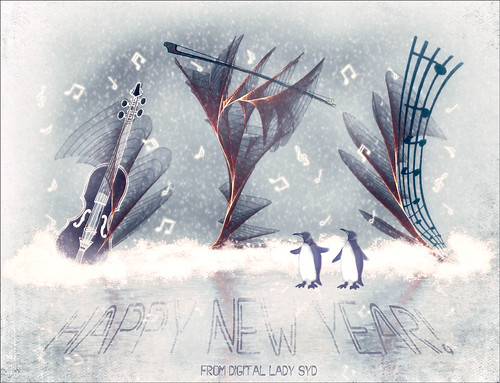
Just wishing everyone a Happy New Year! I am really looking forward to trying out some new techniques and keep working on my digital art, as shown above. I actually painted this image a while ago and decided to make into a Happy New Year greeting by adding the cute penguins brush by Altergromit and some text. There are lots of layers in this image. To get the string look, a Corel Painter brush called Spring Light was used to get this effect. It was saved down as a PSD file and where I could finish up the design. Violin and Bow are from the Design Shop.The notes are from FX Ray Music Brushes. The font is Starway. And lots of snow brushes were used – mine and other peoples to get this wintry look.
Festive Water Lilies
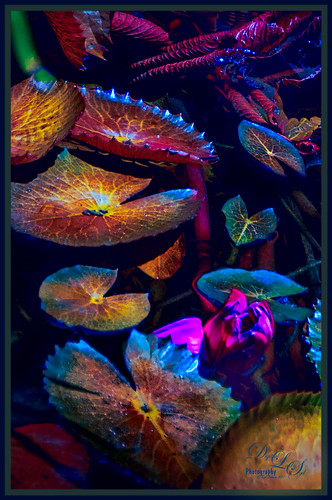
These water lilies were shot at the Philip Hulitar Sculpture Garden in Palm Beach, Florida. I decided to add a little color to them so this is how I did it. First did just the basic adjustments and a little highlighting on the leaves in Lightroom. In Photoshop, Luminar 2018 (see sidebar for website link) was opened on a duplicate layer and the Silver Fade preset was selected. (These settings were then changed: Color Temp: Temp 49, Tint 42; Tone: Contrast 11; Smart Tone 35, Highlights -41, Shadows 20, White -13, Blacks 20; Sat/Vibrance: Sat -30, Vibrance 58; HSL – Hue Yellow -21 and Green -20/Sat Red 7, orange 4, Yellow -25, Green -25, Aqua 16, Blue 5, Magenta -7; Lum Red 7, orange 7, Yellow -2, and Blue 5; Filters Amount 61.) A New Layer was created in Luminar and the Details Enhancer filter was added (Small Details 44, Medium Details 42, and Large Details 27). On another New Layer in Luminar, the Dodge and Burn Brush Filter was selected (Amount 100; used the Darken brush at 50% and then 16% to paint in dark areas within the whole image; used Lighten at 16% Strength to paint in the light parts of the pin flowers). Thought I would give you the detailed info so you can see that Luminar 2018 can build up some interesting effects by using different filters on different layers within their own software interface. Back in PS, the Luminar layer was set to Overlay blend mode at 50% layer opacity. On a stamped layer (CTRL+ALT+SHIFT+E), Topaz (see sidebar for website link) ReStyle was used to give the beautiful overall color scheme – it was from one of the presets I had created a long time ago so I am not sure what original preset was used. On another stamped layer, applied Nik Viveza 2 which really lit up all the colors. One of my free Double Edged Frames – Photoshop Layer Styles was used to finish up – the frame colors were sampled from the image.
Merry Christmas from Digital Lady Syd!
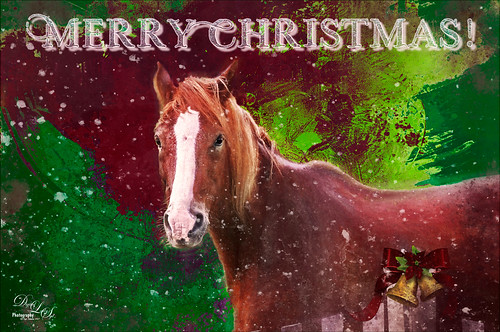
Wishing everyone a Merry Christmas here at Digital Lady Syd’s Tidbits Blog! This lovely horse image was taken in Belarus a while ago – for some reason I felt like adding some painterly Christmas effects to him. He definitely was checking me and my camera out. Normal LR changes and then in PS, Lucis Pro was used to sharpen the image. On a duplicate layer above, Topaz Studio was opened and a Topaz Impression preset called Chalk Smudge was applied. Next I did a selection of the horse. Underneath one of Jai Johnson’s Unpredictable PNG’s was added. A Hue/Saturation Adjustment Layer was used to create the Christmas colors. And under that, a solid blue-filled New Layer was added above the the background from keep white from showing through. On top a New Layer using Kyle’s Spatter Brush Beautiful Mess (comes with PS CC) was used in darkish red to create a subtle vignette. The eyes were sharpened with a Curves Adjustment Layer. A Black and White Adjustment Layer was set to Luminosity at 82% layer opacity. Texture Mate’s original starfield texture was added for the snow effect – set to Screen blend mode at 68%layer opacity. The Font is called Winter Holidays with a Bevel & Emboss, Outer Glow, and Drop Shadow Layer Styles added. That is about it. Hope everyone has a wonderful holiday season!…..Digital Lady Syd
Visiting My Castle
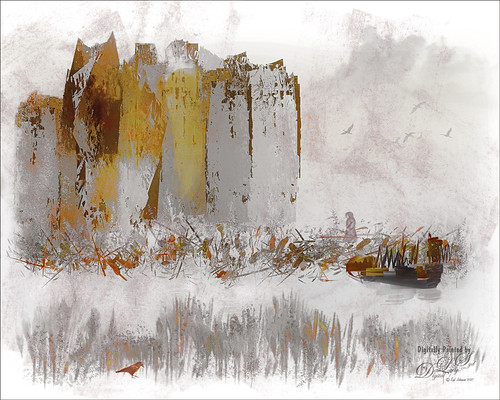
This image was totally painted in Photoshop CC using several elements created originally using different brushes in both Corel Painter and PS, then saving the results down as a PNG objects. Several bird, cloud, plant and grit brushes were used. Different adjustment layers clipped the elements to adjust the colors and tones. The person was just painted in. Topaz (see sidebar for website link) ReStyle’s Silver and Ivory Cloak preset was used to add the colors into the overall image. It was just a lot of fun to put everything together into something creative…..Digital Lady Syd
Five Flowers and Plants
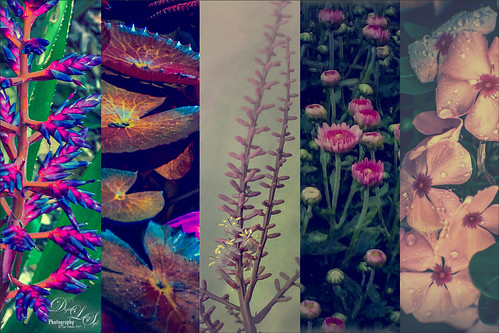
Had a lot of fun putting this template together with some of my favorite flowers and plants from this year. If you would like the full instructions on how to do this, check KelbyOne Insider’s blog called Down & Dirty Tricks: Five-Up Photo Layout by Scott Kelby (I am hoping you can access this link). This is not a video so just follow the steps as they appear to make the template and then it can be used over with different images. Once I created and filled the template, just added a Curves Adjustment Layer to give more of a vintage feel. Very simple but fun to do…..Digital Lady Syd
Posing!
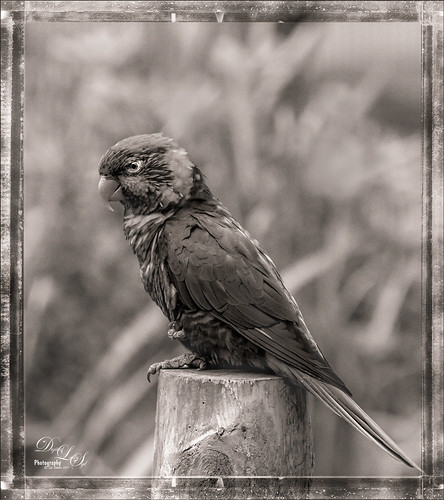
In honor of a sweet little brown bird that was caught in my screened-in porch since Wednesday (he actually trotted out the door once we calmed him down), I decided work on a bird image just to see what a colorful would look like in a basic brown bird look. This image was first processed in On1 Photo Raw 2018 (see sidebar for website link) and then finished up in Photoshop. Followed Steven Dempsey’s short video called Using Color Temperature with B/W Images in On1 Photo Raw 2018. Followed most of the steps using my own settings of course. Then in Photoshop’s Camera Raw filter, applied one of my favorite Split Toning presets, Nick Brandt’s Animal Sepia (Highlights Hue 23 and Saturation 6 and Shadows 41 and Saturation 6). Several Curves Adjustment Layers were used on the eye and beak. Lightened the background slightly with another Curves Adjustment Layer and painted the bird back in the layer mask. I think the On1 workflow for this type of image was very good……Digital Lady Syd
Just Saying Hi!
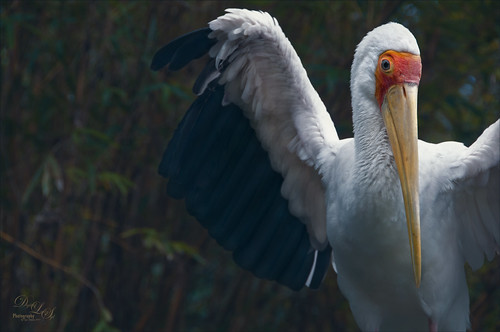
This beautiful big yellow-billed crane lives at the Jacksonville Zoo and I believe he is in charge of the aviary as he greets every person who walks through the door. I have never seen such a tame big bird and he will give you quite a show. This guy did a complete 360 wing spread for me while I was about 6 feet from him. Just a few basic adjustments were done in Lightroom. Once in Photoshop, Lucis Pro (no longer available) was used to slightly sharpen the bird’s face and beak and to define a few feathers (used a black layer mask and just painted back those areas). On a New Layer painted in a little white spotlight at very low opacity to lighten up lower wing area. Used a Selective Color Adjustment Layer to brighten the beak yellow just a little. Used a Curves Adjustment Layer to lighten his eye. Added the Foggy Night Color Lookup Adjustment Layer preset set to 57% layer opacity. Not much to this image as it was pretty nice as shot…..Digital Lady Syd
Sunny Florida
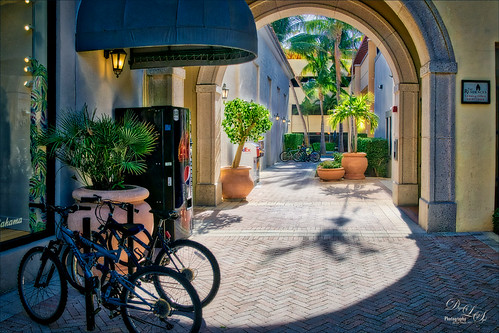
Image taken at City Block in West Palm Beach, Florida using 3 bracketed images and post-processed in Skylum’s Aurora HDR 2018 for Windows (see sidebar for website link). I really like the results I am getting with this program. I did a recent blog on this software (see my Checking Out Aurora HDR 2018 for Windows blog) where I got some similar great results. This image got really good results with the HDR Denoise filter, and a little of the Image Radiance filter which gave it a nice feel. In PS the Adaptive Wide Angle filter was used as the arch was off just a little (see my How to Use the Adaptive Wide Angle Filter blog). A Black and White Adjustment Layer was used set to Luminosity blend mode to adjust the colors (see my How to Use a Black and White Adjustment Layer to See Contrast in an Image blog). On a stamped layer Nik Viveza 2 was used to sharpen the bikes in the background. A Gradient Fill Adjustment Layer was used to create a slight vignette effect (see my Yet Another Great Way to Create a Vignette! blog) That was it……Digital Lady Syd
Topaz Labs AI Gigapixel
Check out AI Gigapixel stand-alone software for upsizing your images. It’s incredible! And it can now be used as a plugin when in Photoshop. Also Topaz Labs Photo AI has some great sharpening and denoise tools along with Photo Video AI.
Luminar Neo
Click here to visit Luminar for more info and check out their new AI Filters.

GRUT BRUSHES – Photoshop Brushes for Digital Artists
Click here to visit GrutBrushes.com
And be sure to check out his Free Brush of the Week and Brush Sampler! These are the best brushes you can find!

Topaz Studio 2 and Legacy Topaz Labs Filters
Unfortunately Topaz Studio 2 and other Topaz Lab filters are no longer available for sale as of 2020. If you had bought these filters and would like to put them back on, here is a link to the Legacy Apps where they can be downloaded again. Below is an example of the wonderful Remix AI Filter from Studio 2. The wonderful Impression still works fine in Photoshop right now along with Adjust (all versions), ReStyle, and even PhotoFXLab!
On1 Photo Raw
Wonderful software to use as a substitute for or plugin with Photoshop. Many great filter effects and lots of AI capabilities!
