
A Pretty Design
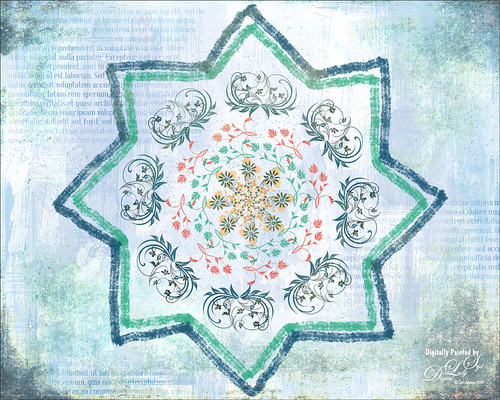
Decided to try out the Paint Symmetry in Photoshop CC 2018 – to load go to Preferences -> Technology Previews -> Enable Paint Symmetry. A little butterfly icon shows up in the Options Bar when the Brush Tool (or Eraser Tool or Pencil Tool) is chosen. Click the icon and several choices can be made from a drop-down menu. Once a shape mode is selected, it can be manipulated by adjusting the already activated transform controls or any of the Path Tools. Since this image would be using a special option called the Radial Symmetry, the New Dual Axis was chosen. The path in the Paths Panel was renamed to “radial symmetry 8” (can set up to 12 segments) – this can be added anytime while you are adding strokes. This will create the identical lines all around the design. There is also a Mandala Symmetry which is a little more complicated and will give a different look – just rename the path “mandala symmetry 8” (can be set up to 10 segments). Then go to the Layer Panel and choose a brush (does not support airbrush, bristles tip or erodible types) to create your effect. With a little experimentation, some great looks can be obtained. The thick lines are regular brush strokes using Grut’s G Flow Co brush, and the floral designs were created by a single stamp from 3 different brushes in a set by Coy Dreamer Floral Brushes and. Under these layers one of my Gesso textures was placed which had text added. On a new layer on top, a gritty brush effect was added to the edges. The last step used 2 Lil’ Owls Studio (see sidebar for website link) Cosmos 18 set to Pin Light at 77% layer opacity. This was just a fun little project to see learn how the Symmetry Painting worked. I wonder if Adobe will have some new features when it is actually added into the program. …..Digital Lady Syd


