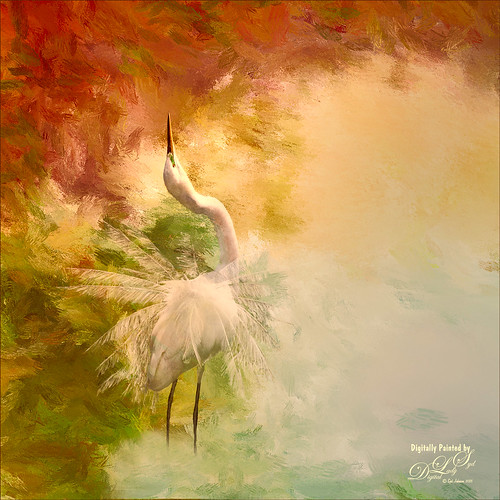
I just love painting birds and this Snowy Egret was once again a lot of fun to do. This bird was a bit of challenge as there were tree branches in front of her body and feathers. I was able to clean the image up pretty good with clone stamping and then separated the bird from the background using Topaz (see sidebar for website link) ReMask 5. It was not perfect but since I was painting the bird, I could smooth out the feathers and blend them into the background, which I did in Painter. Exposure Adjustment Layers were used for the eye, green around eye, and beak. The texture was duplicated twice and place on top, one set to Multiply blend mode at 23% layer opacity and the other Overlay blend mode at 51% layer opacity. On a stamped layer (CTRL+ALT+SHIFT+E) on top, Topaz Lens Effect was opened and the Dual Tone filter was used to enhance the reddish fall colors on top and greenish-blue on the bottom. The the Graduated Color filter using the Graduated Green 1 preset as a start to emphasize the green color more in the bottom of the image. That was basically all that was done. Love these birds!…..Digital Lady Syd

Latest
Old Comfort Point
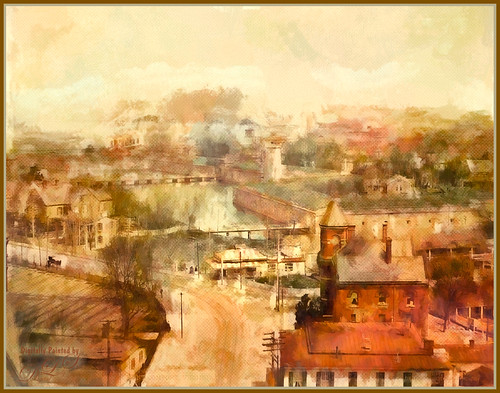
Loved the original Pubic Domain postcard image (cc 1900) of Old Comfort Point which is now part of Hampton, Virginia, and shown in the link. There is a huge amount of history connected with this place. To process this image, one of my warm colored smooth Painter textures was placed above the original image and set to Hard Light blend mode. In its Layer Style, the Blend If This Layer white tab was split (ALT+drag) and set to 228/255 and Underlying black tab split to 0/123 which gives a nice texture effect. A Hue/Saturation Adjustment Layer was placed on top and these Master slider settings were used: Hue -26, Saturation -71, and Lightness -29. A stamped layer was placed top (CTRL+ALT+SHIFT+E) and Topaz (see sidebar for website link) Impression was opened. I created a preset to give a nice painterly result based on the Abstract Settings by Blake Rudis preset (changes made: Type 04, Brush Size 0.65, Stroke Color Variation 0.10, and Stroke Length 0.22). Created two New Layers and painted in some color and clouds in the sky using Kyle’s Real Watercolor Big Wash brush. Created another stamped layer on top and applied Photoshop’s Halftone Pattern Filter (Size 2, Contrast 50 and Pattern Type Dot), which was set to Color Burn blend mode and 14% layer opacity. A New Layer was set to Overlay blend mode and painted with a black brush set to 12% brush opacity to burn in a little to emphasize the tower in foreground. The layer was then reduced to 61% layer opacity. The last steps was just adjusting the color in the image as the yellow and green colors were over-whelming the image. Used Selective Color and Color Balance Adjustment Layers to do the color correction. It did take a lot of steps, but it was really fun to do. Try taking some of these images that are now Pubic Domain and see what you can do with them……Digital Lady Syd
My Imaginary Landscape
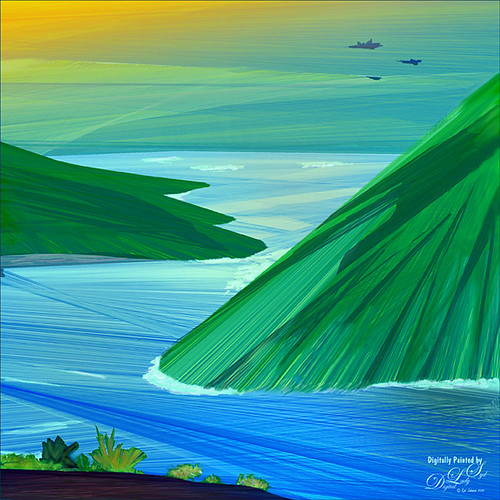
This image was my first created in the new Corel Painter 2016. This used a Spring Particle brush that Corel Master Winifred Whitfield is giving away to use with the her video called Watercolor Spring Particles. This brush can be very addictive, especially if you follow her instructions and make a few variants of your own. Most of the image was created in Painter which can put each color and stroke on different layers if you want. The surf effect was created using the Eraser Tool in Painter. In Photoshop some of the sharp edges on those painted patterned layers were cleaned up where the Painter strokes overlapped a little too much. On a stamped layer (CTRL+ALT+SHIFT+E) on top, Topaz Lens Effects was opened. A Dual Tone filter was applied using the Top Left Red Leak preset and changing a few of the sliders to get a more pronounced sunset feeling in the sky. The last step was to use Nik Viveza 2 to help guide the eye through the image. Both of these filters could have been applied in Painter. That was it. Lots of fun with this brush and the new Painter version……Digital Lady Syd
Meet Elvis
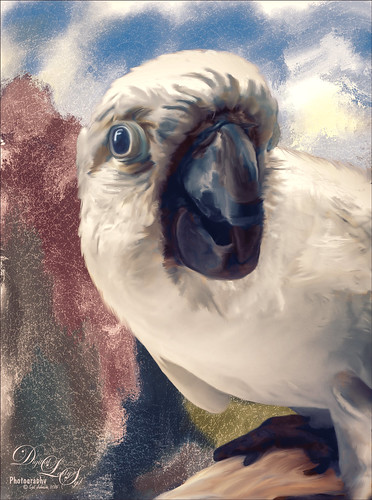
How often is it that you are walking in your neighborhood and a neighbor walks by with a beautiful white cookatoo on her shoulder? This was one of the nicest, most engaging birds I have ever seen. Quite willing to pose, talk a little, raise his feathers for a “photo-op,” and look at pictures on a phone. Wow! What a personality! My camera phone does not do him justice!
In Lightroom Trey Radcliff’s Sunday Time Alone preset was applied, and the Radial Filter was used to add a slight vignette feel. In Photoshop a couple clean up layers were done and one of my Liquid Ink textures from Corel Painter was added behind him. This bird is a super-model!…..Digital Lady Syd
Center Stage – Introducing the Wild Turkey
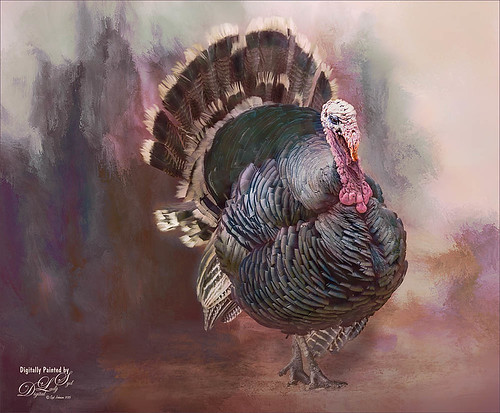
Just another one of my crazy bird pix. This guy was definitely strutting his stuff around the visitors at The Old Village of Ayaymku in Belarus. His feathers and colors were so perfect that I did not need to paint them. I still did a little clean up on the tips of his feathers. Also did some localized dodging and burning to get the contrast. The background is one created in Corel Painter 2015. Overall very little touch up was needed. Totally loved this bird!…..Digital Lady Syd
A Wintry Scene
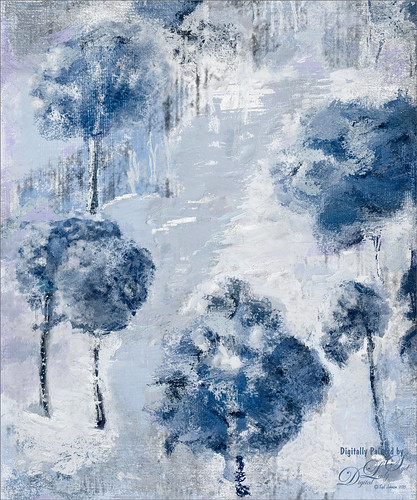
Just practicing my painting some more. Love painting these wintry scenes even though it is so hot outside. Not too much to this image other than it was first painted in Painter, then taken back into Photoshop, taken back to Painter, and ended up in Photoshop. Phew! Used several brushes in each program. Two textures, each with a Hue/Saturation Adjustments Level clipped to it, with the Saturation slider set to -100 so no color was added, only texture. Just fun to paint!…..Digital Lady Syd
Testing the Water
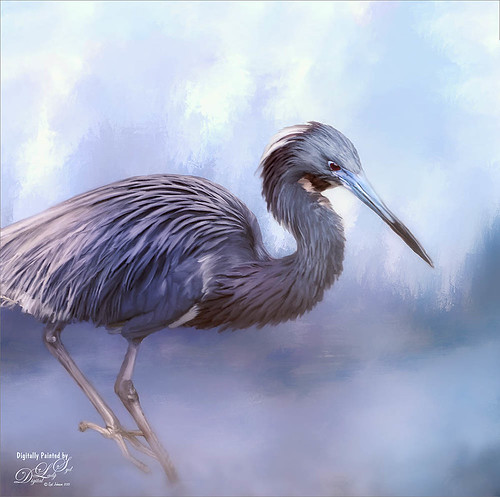
This is a sleepy Tricolored Heron reluctantly taking a step into the water on a beautiful hazy morning. Okay, he was really in a very cluttered background and I had to use Topaz (see sidebar for website link) ReMask 5 to cut him out. Then he was placed on one of my Corel Painter textures whose colors were changed using Topaz ReStyle’s Ice Cool and Fresh preset to match the bird colors and Free Transformed (CTRL+T) to fit the bird perfectly. I then proceeded to paint the bird with a Mixer brush to smooth out the grainy feathers. A duplicated copy of the texture was added on top and set to Multiply blend mode at 50% layer opacity. On a stamped layer (CTRL+ALT+SHIFT+E) on top, Topaz Lens Effects Fog (Fog Ground Fog IV preset – Amount 0.20, Region Size 0.10, Transition 0.20, Angle 138.1, and Diffusion 0.40) was added to give a sort of early morning mist in the water. Next the Reflector filter was applied (Golden Left, then Strength 0.20, Transition 0.40, Position 0.59, and Angle 76.63) before going back into PS. The eyes and beak were sharpened using the Exposure Adjustment Layer. On another stamped layer, Topaz Adjust’s Brilliant Warm preset was applied to get the nice gray color back on the bird. A little Curves Adjustment Layer was added and he was done! Still loving my birds!…..Digital Lady Syd
Macaws Being Macaws
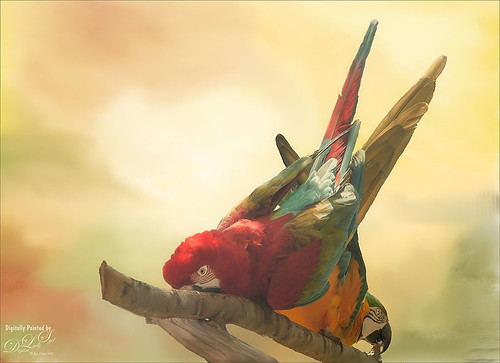
This rather unique image of these two Macaws, a Scarlet and a Blue and Yellow, was taken at the St. Augustine Alligator Farm a while ago. Not sure how I get such funny pictures of birds! I really wanted to take Topaz (see sidebar for website link) ReMask 5 through its paces and it worked really great on this image. (See my Digital Lady Syd Reviews Topaz ReMask 5 blog.) After creating a layer mask in ReMask, one of my Painter backgrounds was placed underneath the birds. A Regular brush layer and a Mixer brush layer were used to paint some of the feathers and the branch they were on. Then the texture was duplicated twice and placed above the birds. One was set to Multiply blend mode at 59% layer opacity and one to Overlay blend mode at 60% layer opacity. A stamped layer was placed on top. I felt the birds looked too bright before this was done. Therefore Topaz Lens Effect’s Fog I preset was applied (Amount 0.19, Angle 135.4, and Diffusion 0.14) to get the softer color effect, especially in the lower part of the image. That is all that was done to get this soft feel to these interesting birds…..Digital Lady Syd
First Signs of Winter
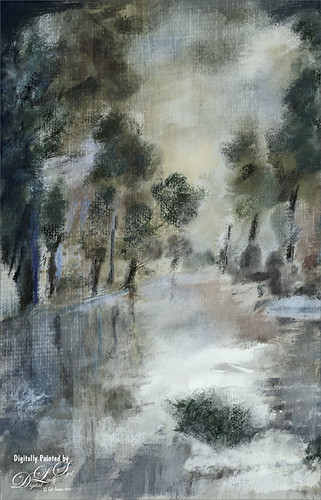
Totally enjoyed myself painting this little wintry scene. I think the recent hot weather in Florida has gotten to me! Used a very textured paper in Corel Painter 15 and mainly an Oil Brush and Blender that smeared some of the edges. In Photoshop used some of Grut’s brushes (these are a fabulous collection of brushes) to fill in where the trees did not look quite right. A texture was applied with no color (used a Hue/Saturation Adjustment Layer clipped to it and set Saturation slider to -100) to get even more texture. Last step was to add Topaz (see sidebar for website link) ReStyle Desaturated Warm III preset for the final color effect. It really is fun just to paint!…..Digital Lady Syd
Building a Home
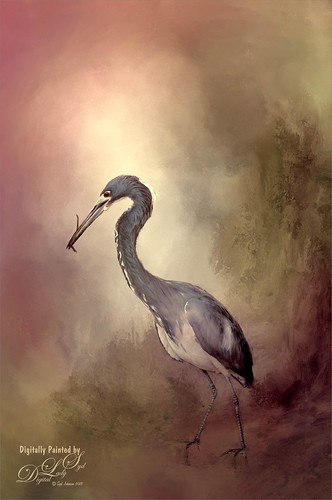
This beautiful Tri-Colored Heron was posing at the St. Augustine Alligator Farm Rookery, where he was actually building a nest as seen by the twig in his mouth. These birds are all over Florida and I probably see one at least once a day. This image used the same techniques from my recent blog called How to Get a Painterly Effect for Wildlife and Birds, especially as done with the Wood Stork image. This time two of my Painter textures were combined to get the sort of magical background effect. Topaz (see sidebar for website link) Adjust’s Summer preset was applied to a stamped (CTRL+ALT+SHIFT+E) version on top and on another stamped version Topaz Lens Effects Toy Camera Memories preset was applied. The Saturation was actually reduced a little in this section. It was pretty much the same workflow, just trying different textures and painting the bird on several layers. I really love my birds!…..Digital Lady Syd
Topaz Labs AI Gigapixel
Check out AI Gigapixel stand-alone software for upsizing your images. It’s incredible! And it can now be used as a plugin when in Photoshop. Also Topaz Labs Photo AI has some great sharpening and denoise tools along with Photo Video AI.
Luminar Neo
Click here to visit Luminar for more info and check out their new AI Filters.

GRUT BRUSHES – Photoshop Brushes for Digital Artists
Click here to visit GrutBrushes.com
And be sure to check out his Free Brush of the Week and Brush Sampler! These are the best brushes you can find!

Topaz Studio 2 and Legacy Topaz Labs Filters
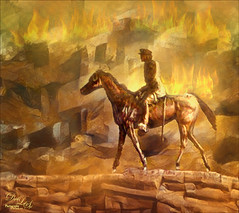
Unfortunately Topaz Studio 2 and other Topaz Lab filters are no longer available for sale as of 2020. If you had bought these filters and would like to put them back on, here is a link to the Legacy Apps where they can be downloaded again. Below is an example of the wonderful Remix AI Filter from Studio 2. The wonderful Impression still works fine in Photoshop right now along with Adjust (all versions), ReStyle, and even PhotoFXLab!
On1 Photo Raw
Wonderful software to use as a substitute for or plugin with Photoshop. Many great filter effects and lots of AI capabilities!
