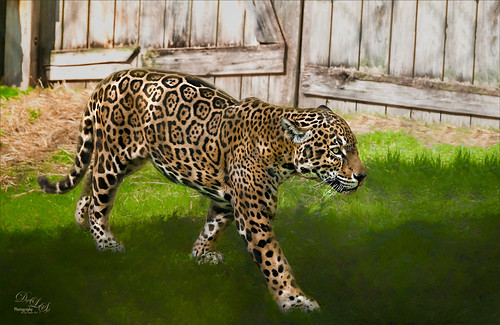
This jaguar started off as not a very pretty image at all – his lower foot was cut off, but the wood fence looked really good so I decided to process it. The image was taken at the Jacksonville Zoo behind a chain-linked fence where light shadow lines were throughout the image. In Lightroom Dave Delnea’s Backlight _Vertical_Left preset was applied and the settings adjusted. Used the Adjustment Brush to add a little Clarity and Sharpness to the just the face and ears. In Photoshop first the canvas had to be extended at the bottom and on the right side – filled some of the area using the Rectangular Marquee Tool and with Content-Aware Fill. Then the back foot was selected and copied (CTRL+J) to put on its own layer. The Free Transform Tool (CTRL+T) was used to add the bottom of this front leg and the spot Healing Brush was used to blend it all together. Topaz (see sidebar for website link) Impression 2 was used to blend some of the dark chain-linked fence shadows out and the spot Healing Brush was also used to remove them. Jai Johnson’s Oil Glaze preset (see video to create) was used and most of the jaguar was painted out on a layer mask. On a stamped layer (CTRL+ALT+SHIFT+E) Lucis Pro was opened and the Detail was set to 113. Then just parts of the jaguar were painted back in the mask to add more detail to the face. A Red Channel Luminosity Curves Adjustment Layer was added next. On another stamped layer, Nik Color Efex Pro was opened and the Pro Contrast filter with the Dynamic Contrast set to 41% and the Darken/Lighten Filter were applied. It took a bit of time to work out the problems in this image, but the results were worth it!…..Digital Lady Syd

Latest
Keeping an Eye Open
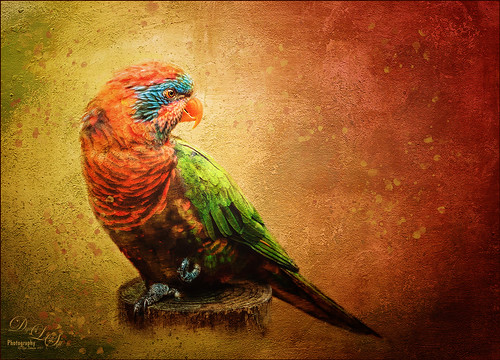
This is an image of a male Red Flanked Lorikeet found at the Jacksonville Zoo in Florida. These birds are so colorful and very active! He actually posted for several pictures which surprised me. There were a lot of layers with this guy as I could not decide what to do with him. I finally settled on adding a pretty heavy texture to his image. French Kiss’s Solstice Puissance (see sidebar for website link) was selected and the color changed to match the bird. The bird was painted in several places using my SJ Pastel 3 brush. A little Exposure Adjustment Layer eye sharpening and Nik Viveza 2 to get the light in the background correct finished up the photo. These birds are so beautiful!…..Digital Lady Syd
A Cowboy in Montana
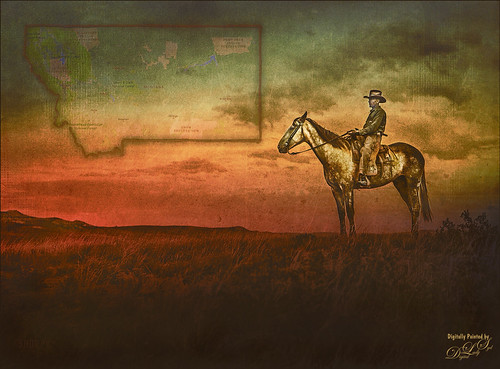
This image is from Shorpy.com, my favorite old image site, and was called Cowboy at Quarter Circle U Roundup in Montana in June 1939. Just had to try to add the hand-tinting and see if I could get that old West look that was so popular in the 60’s. This image was really not that hard to do – just followed the steps in my How to Colorize an Old Photo Fun Photoshop Blog using several Color Fill Adjustment Layers. On a stamped layer (CTRL++SHIFT+ALT+E) on top, used a Sunset Gradient 5 from Oilha Kozacheenko to get the beautiful sunset effect. The map was created by just going into one of the Map Apps and copying down a selection of Montana, removing all the roads, drawing a line around the state lines to thicken them, and removing the white in the map using Color Range. Then it was brought into the cowboy image. 2 Lil Owls (see sidebar for website link) Mosaic Set beneit grunge texture was applied and set to Linear Light blend mode at 25% layer opacity. Topaz (see sidebar for website link) Texture Effects 2’s Urban Grit preset was applied and then Topaz ReStyle’s Natural Brown Shades. It took a little bit of tweaking to get the final result, but it was a lot of fun! I like to hand-tint a good black and white image for a change of pace…..Digital Lady Syd
The Road to Hana
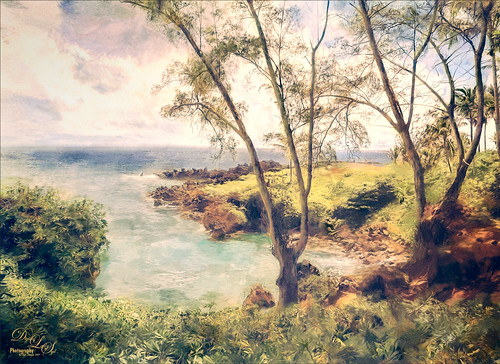
This Maui image of a little water inlet on the Hana Highway is another example of the poster look that was in my Getting That Poster Effect Fun Photoshop Blog. Used a similar workflow with Lucis Pro 6.0.9 (any sharpening filter would work), Topaz (see sidebar for website link) Impression 2 using one of my presets (I do not use the same preset for each image) – just have to use a little trial and error to find the right painting look. A layer mask was added and parts were painted out that did not look so good. The RGB luminosity layer and the brighten whites layer were also created. PS’s Poster Edges Filter was used with the same settings as my original blog. PS’s Stylized Filter using the same settings from the original blog was added. Nik Color Efex Pro 4 was opened and these filters were stacked: Glamour Glow, Reflector Efex, Film Efex Vintage using Film Type 14, and Cross Processing using Method B02 at 17% Strength – this really added to the painterly effect. On a New Layer and using my SJ Pastel Brush, some clean up and colors were added in parts of the image to create a more painterly look. A Red Channel Luminosity Curve was used to further even out the tone of the image. A Color Balance Adjustment Layer was used to get the exact warmth into the image. On a stamped layer (CTRL+ALT+SHIFT+E) Topaz (see sidebar for website link) Lens Effects Diffusion filter was opened and just a little diffusion and softness was added to the image to smooth some of the strokes. My favorite texture group from 2 Lil’ Owls (see sidebar for website link) Color Bokeh Grunge Set (these are .png files) number 3 was added to the image and set to Overlay blend mode. Last step involved taking another composite layer into Nik Viveza 2 (still my favorite plug-in ever and now it is free) and added a little vignette and lightened the focal point, which is the point at waters edge and the tree almost in the center. It did take a while to do this image, but I am always surprised at how good these poster effects come out! Each time I try it I feel I am getting a better result…..Digital Lady Syd
Tree on Fire
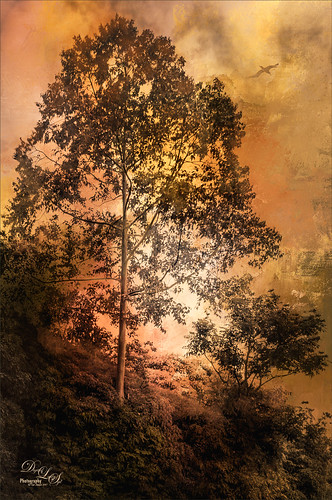
This image is from the beautiful drive on Maui called the Hana Highway. The tree was basically sitting alone on a hillside enjoying the wonderful weather, but somehow it turned into a rather dramatic image mainly due to the added texture. In Lightroom after watching a video by Serge Ramelli called Amazing Free Lightroom Presets!, his AA Drama Radial Circle Middle preset was selected. The Graduated Filter and Radial Filter settings were adjusted and moved. In Photoshop, the Background layer was duplicated and the PS Lighting Effects filter was used to add a little light in the top of the tree – was just trying it out. Think I like the Camera Raw Radial Filter better for this. Added the Flypaper Bird Brush Set-Albatross Fly Birds to the sky on a separate layer. Jai Johnson’s Daily Textures Explorations Texture 9 was used to create this rather glowing background effect. The layer was set to Multiply blend mode. A Red Channel Curves Adjustment Layer was added to modify the highlights. Nik Viveza 2 was opened and 7 control points were used to drive the eye toward the focal point and to give a slight vignetting effect. Also a little light could be scattered on the hill with this filter. A hoe-hum image has been turned into something rather spectacular!…..Digital Lady Syd
Castillo de San Marcos
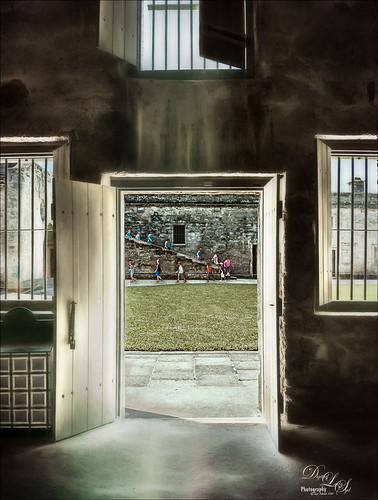
Loved how this image of the Castillo de San Marcos has such a soft feel inside the fort. The sharpness in the outside area where the kids was created using Lucis Pro 6.0.9 (no longer available, but I keep watching for everyone). The original image has the inside area looking much brighter. This was darkened down a little using Nik Viveza 2. Then to bring out the softening effect, Topaz (see sidebar for website link) Glow 2 and a preset called Room Glow by Blake Rudis was applied and set to Overlay blend mode. This preset was created using Glow 1 but works fine in Glow 2 and can be created by downloading the Topaz Labs Glow Webinar PDF file from Blake, who is a Photoshop and Topaz genius. In fact all 4 of the presets in this PDF are very useful in Glow. A Layer Mask was added to paint out the outside area in the door. On a stamped layer (CTRL+ALT+SHIFT+E) on top, Topaz Impression 2 was opened and the Fine Brush Scumble II preset was applied as is. To further add a little softness Topaz Lens Effects was opened and the Slight Diffusion preset was applied. Layer Masks were also added to these layers to keep the outside area tack sharp. Try out these filters for this soft effect…..Digital Lady Syd
Mom and Baby Giraffe Looking for a Snack
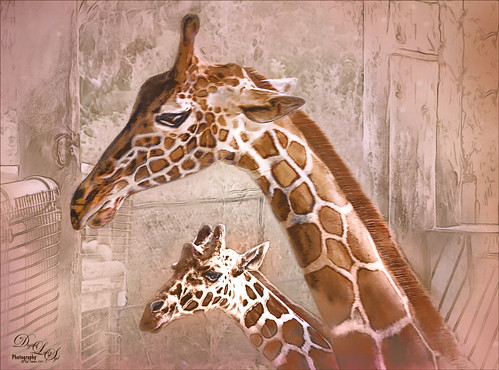
These giraffes are living at the Jacksonville Zoo in Florida. I am a big fan of the sketch effect and this time I added the MixArt – Sketch Photoshop Action to add the sketch effect. (For more info on the action, see my Trying Out the MixArt Action blog.) It is a long action and there are lots of options once it has been run. It is a really nice and inexpensive action which I use quite a bit. Several layers were added on top of the action to give it the look that I like: mainly Topaz (see sidebar for website link) Texture Effects 2 and Nik Viveza 2. Hope you enjoy!…..Digital Lady Syd
Rainbow over Arizona
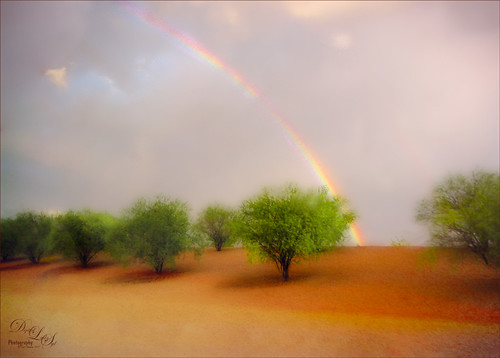
This was a snapshot taken with an old camera several years ago when in Arizona. Just had some fun with it as I loved the way the trees looked and wanted to see if I could get a nice effect with them. Applied Topaz (see sidebar for website link) Impression 2 and used a preset created from watching Jai Johnson’s Topaz Impression Oil Glaze Preset for Noise Removal video – adjusted the Red, Orange and Yellow colors in the plug-in and added a Vignette to it. The preset was not used for noise removal – just liked the effect on the image. Some clean up was done on a layer. On a stamped layer (CTRL+ALT+SHIFT+E) on top, applied Topaz Texture Effects 2 – started a new preset with the Diffusion section (set Diffusion Strength to 1.00, Softness 0.49 and Blur 0.27); Basic Adjustments section to adjust the color in the rainbow with Enabled Mask turned and inverted the mask to just paint back the rainbow; Light Leaks section using the first leak to add a little foreground color; and finally the Masking section using the Brush tab to paint out some of the effect on the foreground tree. On a new stamped layer a little Nik Viveza 2 magic was used to drive the eye to the focal point. That was it!…..Digital Lady Syd
A Surreal New York New York Hotel
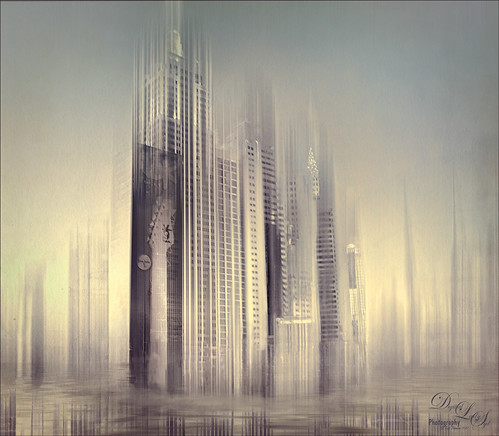
Not sure what possessed me to create this, but it was a lot of fun. This is not really a hard effect to achieve. Just made some basic Lightroom adjustments so my image had nice tones and detail. In Photoshop, added a little Lucis Pro (no longer available) to sharpen it just a little more – could have used Topaz (see sidebar for website link) Detail or Clarity to do this. Had to do quite a bit of clean up since there is there is a roller coaster running in front of the New York New York Hotel in Las Vegas. On a stamped layer (CTRL+ALT+SHIFT+E), added a pretty severe motion blur by going to Filter -> Blur -> Motion Bur and setting the Angle to -90 (vertical effect for this image) and the Distance to 687. Added a duplicate layer of the Lucis Pro layer on top of the blur layer and a Black Layer Mask – the buildings were lightly painted back to give some building effect but still left it really vague. Another stamped layer was used and the now free Nik Silver Efex Pro 2 was opened. Started with a preset and tweaked the sliders to get a pleasing effect. On a duplicate layer, the Flaming Pear Flood filter was added that gave a bit more of an eerie look – the lines in the bottom foreground came by selecting a Glue called spin light – thought it was an interesting effect. On another stamped layer used Topaz Texture Effects 2 using the Crisp Morning Run – did a lot of adjustments and used the Spot Mask a couple times, once on the Texture section and another in the Masking section. Added a Red Channel Luminosity Curve Adjustment Layer. On another stamped layer above used Nik Viveza 2 to add focus to the guitar on the building. Used a Selective Color Adjustment Layer to give that final color look to get the sort of soft abstract effect. This was a lot of fun to try something different……Digital Lady Syd
Magic Kingdom Snow
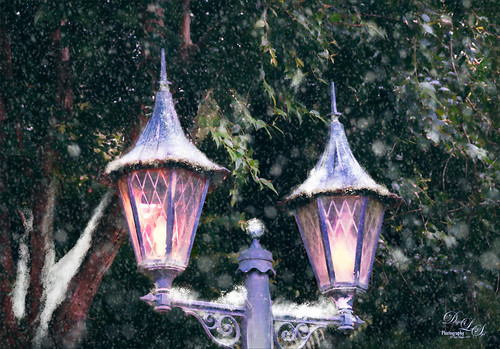
This image is of a pair of lanterns taken at the Magic Kingdom although they look like they are from Hogwarts and the Harry Potter movies. Most processing was done with Lucis Pro (which is no longer available), Topaz (see sidebar for website link) Glow 2 and Nik Viveza 2. Many painting snow layers as shown in my How to Paint in a Snow Storm blog. It is really fun to add snow into images to get a little different look……Digital Lady Syd
Topaz Labs AI Gigapixel
Check out AI Gigapixel stand-alone software for upsizing your images. It’s incredible! And it can now be used as a plugin when in Photoshop. Also Topaz Labs Photo AI has some great sharpening and denoise tools along with Photo Video AI.
Luminar Neo
Click here to visit Luminar for more info and check out their new AI Filters.

GRUT BRUSHES – Photoshop Brushes for Digital Artists
Click here to visit GrutBrushes.com
And be sure to check out his Free Brush of the Week and Brush Sampler! These are the best brushes you can find!

Topaz Studio 2 and Legacy Topaz Labs Filters
Unfortunately Topaz Studio 2 and other Topaz Lab filters are no longer available for sale as of 2020. If you had bought these filters and would like to put them back on, here is a link to the Legacy Apps where they can be downloaded again. Below is an example of the wonderful Remix AI Filter from Studio 2. The wonderful Impression still works fine in Photoshop right now along with Adjust (all versions), ReStyle, and even PhotoFXLab!
On1 Photo Raw
Wonderful software to use as a substitute for or plugin with Photoshop. Many great filter effects and lots of AI capabilities!
