
Old Comfort Point
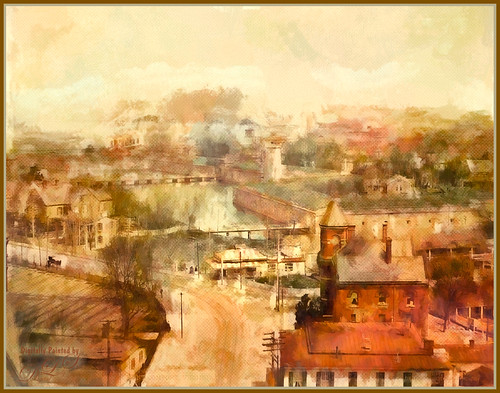
Loved the original Pubic Domain postcard image (cc 1900) of Old Comfort Point which is now part of Hampton, Virginia, and shown in the link. There is a huge amount of history connected with this place. To process this image, one of my warm colored smooth Painter textures was placed above the original image and set to Hard Light blend mode. In its Layer Style, the Blend If This Layer white tab was split (ALT+drag) and set to 228/255 and Underlying black tab split to 0/123 which gives a nice texture effect. A Hue/Saturation Adjustment Layer was placed on top and these Master slider settings were used: Hue -26, Saturation -71, and Lightness -29. A stamped layer was placed top (CTRL+ALT+SHIFT+E) and Topaz (see sidebar for website link) Impression was opened. I created a preset to give a nice painterly result based on the Abstract Settings by Blake Rudis preset (changes made: Type 04, Brush Size 0.65, Stroke Color Variation 0.10, and Stroke Length 0.22). Created two New Layers and painted in some color and clouds in the sky using Kyle’s Real Watercolor Big Wash brush. Created another stamped layer on top and applied Photoshop’s Halftone Pattern Filter (Size 2, Contrast 50 and Pattern Type Dot), which was set to Color Burn blend mode and 14% layer opacity. A New Layer was set to Overlay blend mode and painted with a black brush set to 12% brush opacity to burn in a little to emphasize the tower in foreground. The layer was then reduced to 61% layer opacity. The last steps was just adjusting the color in the image as the yellow and green colors were over-whelming the image. Used Selective Color and Color Balance Adjustment Layers to do the color correction. It did take a lot of steps, but it was really fun to do. Try taking some of these images that are now Pubic Domain and see what you can do with them……Digital Lady Syd


Leave a Reply
You must be logged in to post a comment.