Boring Image to Fabulous Image!

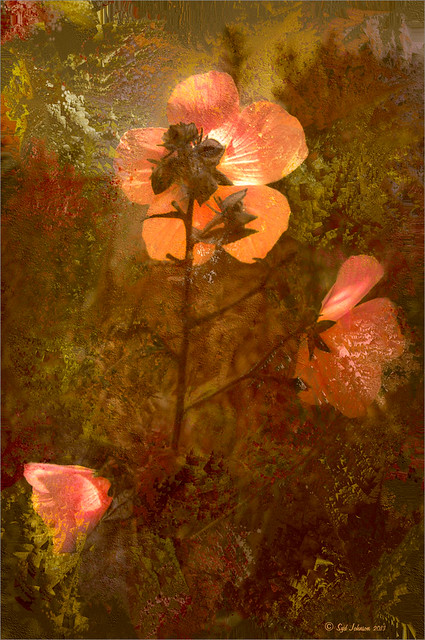
As you can see, this little pink flowers pix taken at the ICW (Halifax River) in Ormond Beach, Florida, was not that great to begin with, but by adding this gorgeous texture from Painted Textures, the image was totally turned around. In Lightroom 5, the image was desaturated using an Adjustment Brush and just leaving the flowers pink. Two Radial Gradients were applied – one for the outside where the Exposure slider was further darkened, and one for the inside area where the Clarity and Sharpness sliders were reduced to make the flowers appear softer and Shadows increased to 20 to give just a glimpse of the background details. Screenshot shows how image looked as a RAW file, and then after Lightroom adjustments right before taking it into Photoshop.

The image was taken into Photoshop CC where a clean up layer was added to get rid of the spots on the flower petals. Next Painted Texture’s beautiful August Sand Texture was added and set to Linear Light at 77% layer opacity. A Hue Saturation Adjustment Layer was clipped (ALT+Click between the layers) and the Hue was set to -4 and Saturation -23. Then a Curves Adjustment Layer was added to increase contrast, which adding textures often requires, by dragging in the image with the little hand icon tool from the top of the panel and pulling down. A New Layer was added on top and set to Overlay – a burn layer was created using a black brush at 12% and following down the stems. (See my The Best Dodging and Burning Technique! blog ). It was also set to 44% layer opacity to keep it from being overdone. No layer masks or fancy selections or filters were used on this one – the texture totally made this image!……Digital Lady Syd
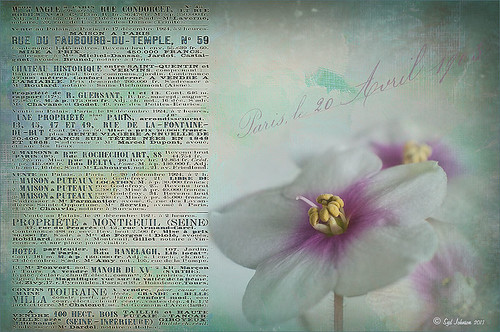
My Parisian Violets!

These beautiful violets I recently bought at Wal-Mart and they are so pretty. They really like the filtered light from my south facing window in my kitchen. I used my handy, dandy 60 mm Nikkor macro lens at F/4.8, 1/90 sec, and ISO 200. A Bower 0.5 x High Resolution Digital Lens with Macro was added to the lens. In Lightroom 4 I just followed my workflow in my blog How to Use Adobe Camera Raw (ACR) or Lightroom 4 Quickly. I painted over the center of the flower using an Adjustment Brush set to a high sharpening and just a little Clarity. In Photoshop a Curves Adjustment Layer was used to selectively remove a shadow behind the front flower (see my Using Curves Adjustment Layers to Get Rid of Shadows and Highlights blog). Painted Textures Seafoam textures was added and just the flower lightly painted back using a white layer mask and painting in black. Next 2 Lil’ Owls Affetto Grunge Mosaic texture (see sidebar for website link) was added and the center painted out so only the darkened edges remained on most of the image. French Kiss’s Vintage French Brush No. 2 set -Dec 1924 was placed on the left side of the image and set to 89% opacity. A Layer Style was opened on this overlay layer. A dark Stroke set to 3 pixels inside was added, a Pattern Overlay using that wonderful default Photoshop pattern Bubbles was checked to add some variation in the text (I think this is the first time I have ever used it!), and an Outer Glow at 39% opacity was used. A Color Fill Adjustment Layer was clipped to the overlay and set to a light blue color. On the upper right French Kiss’s Vintage French Brush 1903 (same link as above) writing was applied and another Color Fill Adjustment Layer was clipped using the purple color from the flower. That was it! Lots of fun to do!…..Digital Lady Syd
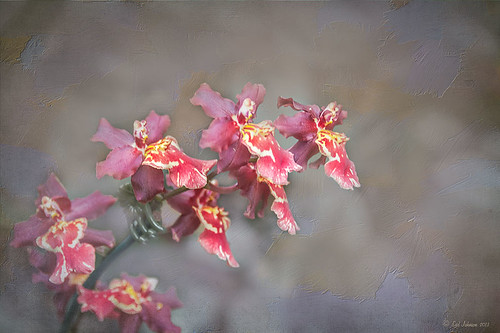
Textured Pink Orchids

Just loved the way these beautiful orchids look with this luscious texture applied to them. These orchids were growing at the Hawaii Tropical Botanical Garden on the Big Island in Hawaii. Just did my basic image adjustments in Lightroom – used the Adjustment Brush to add some Clarity and Sharpening to the foreground flowers, and another one to smooth out the highlights and soften the background which was pretty harsh. Once in Photoshop, the background image was duplicated (CTRL+J). Next the texture Winter Wheat from Painted Textures Cyber Monday set was added between the two layers. A layer mask was added to the top orchid layer and the background was painted out with a soft black brush to cover up most of the background color. A Curves Adjustment Layer was added using a slight S-curve to add a little contrast to the image. The last step involved a black vignette set to 59% opacity so it barely is noticeable. Very simple processing and I loved the results. Melissa Gallo’s textures are so pretty!…..Digital Lady Syd
Digital Lady Syd Related Blogs:
Painterly Red Berries
Red Flowers in the Snow
Beautiful Christmas Flowers
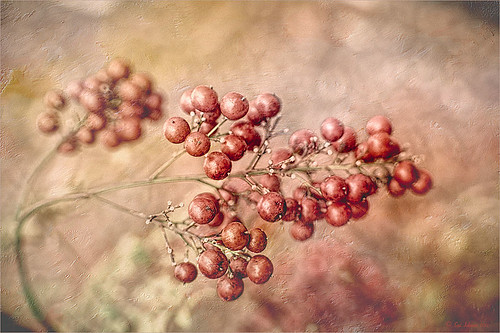
Painterly Red Berries

These little red berries were growing in my neighbors yard – I really did not think they would look that great but I took a photo anyway. By adding the soft painterly texture, they turned into something quite beautiful. In Lightroom the basic panel sliders were manipulated and an adjustment brush was set to increased clarity and sharpening to paint around the edges of the front berries. The image was then opened in Photoshop where Topaz (see sidebar for website link) Detail 3 was opened and the Desaturated Blush I preset was applied. Painted Textures Creamsicle texture was set to Linear Burn at 100% opacity. A Levels Adjustment Layer was added and the Output level was changed to 54 to add a slight light haze to the image. The berries in front were painted out in the adjustment layer mask so they would appear slightly sharper. That is it! I love this texture – gives a real painterly look!…..Digital Lady Syd
Digital Lady Syd’s Related Blogs:
Beautiful Christmas Flowers


