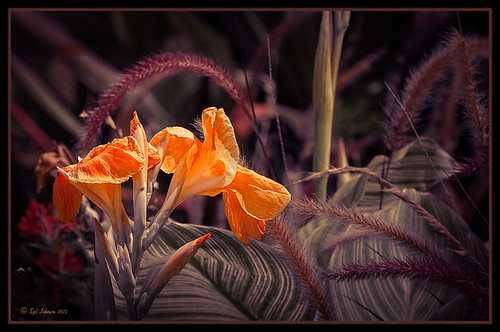
This is an image of the Canna MACtro flowers that grows in my crazy front yard – always has healthy blooms for me! It was mainly processed in Lightroom. The image in Lightroom was first turned to black and white by going to the HSL Saturation panel and setting all the colors to -100. Then the colored sliders were adjusted until I got a pleasing color balance. With an Adjustment Brush, the flowers were sharpened. I used a preset I made from David duChemin older Refining Your Vision in Adobe Photoshop Lightroom book (still a great read) that I call duChemin Classic India preset. Dave Delnea’s Backlight Horizontal Left preset was applied to light up the flowers and last free Matt Kloskowski’s Vignette (Strong) was applied. The image was now ready for Photoshop where Nik Viveza 2 was opened and control points placed on the flowers to sharpen a bit more, and on the background areas to further darken the distractions. My free SJ B&W Border Style was applied and the Inner Glow changed from white to a sampled color in the image. That was it!…..Digital Lady Syd
Digital Lady Syd Related Blogs:
How to Pop a Picture in Lightroom 5
How to Use Adobe Camera Raw (ACR) or Lightroom 4 Quickly
I Didn’t Know That! Converting Lightroom Preset to Adobe Camera Raw Preset
09/26/2013 | Categories: Borders and Frames, Lightroom | Tags: Border Style, Lightroom presets, Nik Viveza 2 | Leave A Comment »

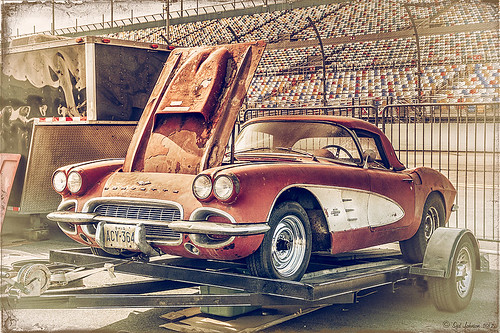
Just felt like using a couple of my old standby favorite plug-ins to create a vintage feel to this image. This old red corvette image was taken at the 39th Annual Daytona Turkey Run at the Daytona International Speedway infield. I love the way the raceway seats are in the background – it just seems to the be the right setting for this old girl – I love corvettes! It was processed first in Lightroom starting out with cropping and applying one of David duChemin’s Lightroom 4 presets called Warmer Sunset -.66 Grad – I was surprised it gave such a nice vintage feel for starting post-processing of the image. From there several adjustments basic Lightroom adjustments were done and the chrome was sharpened using an Adjustment Brush. In Photoshop Nik Viveza 2 was used with control points placed on the windshield to clean up some window glare (this plug-in does an amazing job with window glare) and on the detailing on the car. Then Nik Color Efex Pro 4 was applied and several of my favorite filters were stacked – Darken/Lighten Center, Detail Extractor, and my favorite for getting this vintage feel, Film Efex Vintage set to Film Type 14 with an overall opacity of 56%. A Curves Adjustment Layer was added and French Kiss free Glorious Grunge Edging Overlay with the lines inside removed was applied and set to a tan color. I wish I could fix up this car – she really was a beauty!…..Digital Lady Syd
Digital Lady Syd Related Blogs:
Yellow Dogface Butterfly in her Glory!
Soft and Sharp Image at the Same Time!
12/20/2012 | Categories: Lightroom, Photoshop Filters | Tags: Color Efex Pro, corvette, free overlay, French Kiss Overlays, French Kiss Textures, Lightroom, Lightroom presets, NIK Color Efex Pro 4, Nik Viveza 2, plug-ins, plugins, vintage, Viveza | Leave A Comment »


