
Just a Pretty Flower
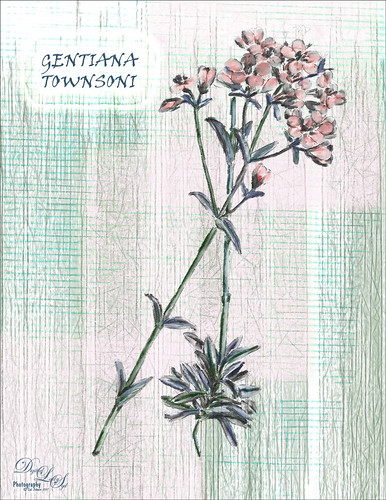
This pretty flower is from an old album called Illustrations of the New Zealand Flora (Plate 139) published in 1914. It was just a black and white line drawing and I added the color and texture. The image was removed from a page on the downloaded PDF file using the steps in my How to Create Vintage Text for Images Fun Photoshop Blog -just go towards the end for steps to pull images. I am afraid I took a little color liberty here as the volume says the flowers are actually white, but I liked the pink color. The flowers pink color was created by using a Curves Adjustment Layer’s individual Red channel with the layer mask filled with black (CTRL+I in the mask) – just painted in the pink on the petals – layer was set to Color blend mode. On a separate blank layer under the outline, painted in the green textures using Grut’s I Qwillo (I love this brush for drawing and painting!) and a Mixer blender to paint in the leaves and stem. Below that but above a white background layer a texture was painted – just experimented with a couple of my brushes and took just the texture layer into Topaz Studio. The Radiance filter was applied so the fine lines showed up – I thought it matched the line drawing effect of the flower. The font is Viner Hand ITC and an Outer Glow layer style with a Contour change was used to make the text stand out. The original outline was set to 15% layer opacity at the top of the layer stack. That was it. Lots of fun. I really enjoy looking at the old volumes of animals and plants. ….. Digital Lady Syd
Windsor Castle
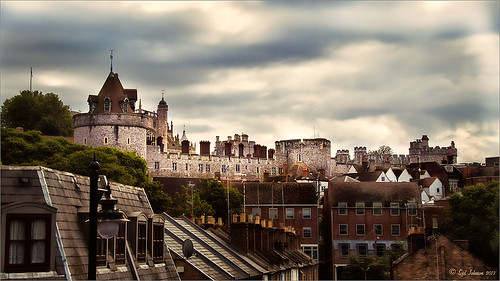
Here is another example of an image that used a Curves Adjustment Layer to adjust the color of the stone in this image of Windsor Castle in England. It turned too brown due to a filter treatment applied to the total image – Topaz (see sidebar for website link) Adjust 5’s French Countryside preset was applied to the image once it was brought into Photoshop – this preset is one of my very favorites but it definitely has a very brown tone to it. Nik Viveza 2 was applied next to selectively sharpen parts of the image. A regular Curves Adjustment Layer was added to increase the contrast in the image. Next another Curves Adjustment Layer was added and this time the Blue Channel Curve was adjusted to get rid of some of the yellow tones in the stone. The Layer Mask was filled with black and just the castle stonework was painted back in with a low opacity soft white brush. That is it! I love the final result – it really gives a different perspective on how large this castle really is!…..Digital Lady Syd
Digital Lady Syd’s Related Blogs:
Using Curves Adjustment Layers to Get Rid of Shadows and Highlights
I Didn’t Know That! Curves Adjustment Layers
I Didn’t Know That! Curves Adjustment Layers
Every now and then I find something that makes me go – “Wow – I didn’t know that!” Last week I watched a video by Moose Peterson, one of the very best wildlife photographers, called “Finishing Techniques using Nik Software.” Listen to this video if you have time – some very interesting images and processing tips are included.

In the image above of the Scottish Highlands, I used the Curves Adjustment Layer set to -1 Exposure Compensation so I could darken the foreground a bit and some parts of the clouds – the image was overall much brighter. The layer mask was then filled with black. With a white soft paintbrush set to 20% opacity, I painted over any areas that needed to be darkened slightly. The Curves Adjustment Layer was duplicated because I liked the vignette effect it was creating.
This tip could become very useful, if for example, you discover an image you really like is just a bit over-exposed. In Photoshop a Curves Adjustment Layer set as shown above could bring just a bit of contrast back into the image, as if you had adjusted the shot when taking the picture. Try using a +1 Exposure Compensation Curves Adjustment Layer if parts of an image need to be lightened a bit.
It had never occurred to me what I was really doing with the Curves Adjustment Layer. Thank you Moose! Hope this tip helped you a bit…..Digital Lady Syd


