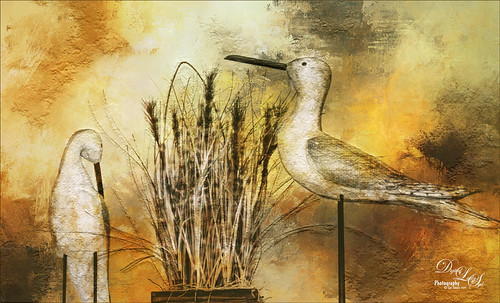
My Bird Buddies

Had some fun with a shot of my birds that sit on top of my kitchen cabinets. Apparently one of the guys is a little shy. (How did that happen?) This image started off Lightroom with an old preset of mine called Kuboto Warm & Tasty B&W – it gave a little bit of brown and gray tones to the image. In Photoshop Topaz (see sidebar for website link) Studio’s AI Clear Adjustment was applied. I do this on every image now. Next an AI ReMix Adjustment was added using a preset I had created called SJ Illustrated Effect (uses Ink Blog style set to Medium, Brightness -0.24, Contrast 0.57, Sat 0.75, Smooth Edge 0.21, Sharpness 0.50). Then the Radiance Adjustment was set to Light, Strength 0.50, Width 0.73, Length -0.17, and Sat 0.44 – the mask was inverted so only the thick leaves and stems were affected by this adjustment. Back in PS a Jai Johnson texture called Explorations (7) was applied and set to Hard Light blend mode. This added the beautiful golden colors. Then a second texture called Texture 01 1920 X 1080 by Frostbo at Deviant Art set to Linear Burn at 52% opacity was applied. On a New Layer Kyle Webster Impasto Kit for Photoshop (not sure it is still available) from a long time ago was set to a Subtle Touch, and a second New Layer set to Medium was added. Both were set to 0 Fill Layer – a splatter brush was used to add in the texture. This is the same effect shown in my Fun Photoshop blog called How to Create an Impasto Texture Layer Style. Last step was to add a Color Lookup table using my SJ Sharply Dark LUT (created in my Fun Photoshop blog and video called How to Create Profiles in ACR from LR Presets and Some PS LUT Files). This impasto look can really add character to an image!…..Digital Lady Syd


Leave a Reply
You must be logged in to post a comment.