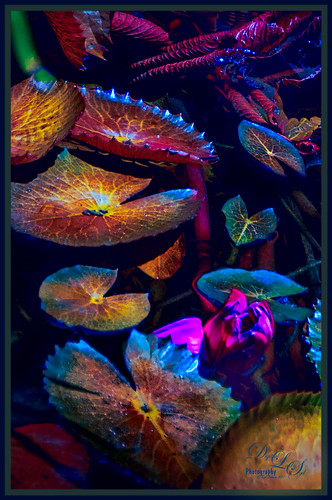
Festive Water Lilies

These water lilies were shot at the Philip Hulitar Sculpture Garden in Palm Beach, Florida. I decided to add a little color to them so this is how I did it. First did just the basic adjustments and a little highlighting on the leaves in Lightroom. In Photoshop, Luminar 2018 (see sidebar for website link) was opened on a duplicate layer and the Silver Fade preset was selected. (These settings were then changed: Color Temp: Temp 49, Tint 42; Tone: Contrast 11; Smart Tone 35, Highlights -41, Shadows 20, White -13, Blacks 20; Sat/Vibrance: Sat -30, Vibrance 58; HSL – Hue Yellow -21 and Green -20/Sat Red 7, orange 4, Yellow -25, Green -25, Aqua 16, Blue 5, Magenta -7; Lum Red 7, orange 7, Yellow -2, and Blue 5; Filters Amount 61.) A New Layer was created in Luminar and the Details Enhancer filter was added (Small Details 44, Medium Details 42, and Large Details 27). On another New Layer in Luminar, the Dodge and Burn Brush Filter was selected (Amount 100; used the Darken brush at 50% and then 16% to paint in dark areas within the whole image; used Lighten at 16% Strength to paint in the light parts of the pin flowers). Thought I would give you the detailed info so you can see that Luminar 2018 can build up some interesting effects by using different filters on different layers within their own software interface. Back in PS, the Luminar layer was set to Overlay blend mode at 50% layer opacity. On a stamped layer (CTRL+ALT+SHIFT+E), Topaz (see sidebar for website link) ReStyle was used to give the beautiful overall color scheme – it was from one of the presets I had created a long time ago so I am not sure what original preset was used. On another stamped layer, applied Nik Viveza 2 which really lit up all the colors. One of my free Double Edged Frames – Photoshop Layer Styles was used to finish up – the frame colors were sampled from the image.


Leave a Reply
You must be logged in to post a comment.