
Adding Some Background Texture
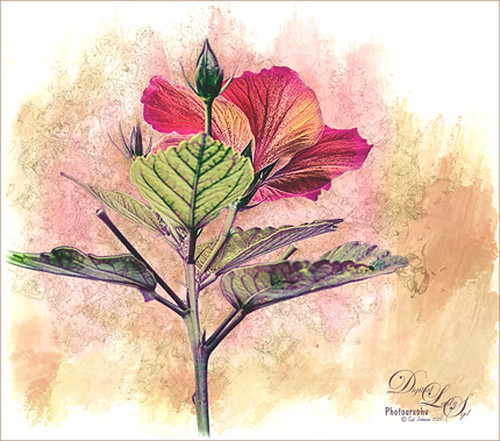
Just used my red hibiscus object image again to try out some texture effects with the background. I really liked the results. The flower was brought in and it was duplicated. Topaz (see sidebar for website link) ReStyle’s Cream and Plum preset was applied to the duplicated layer and set to Darken blend mode at 66% layer opacity. A texture that was made in Corel Painter using the Coarse Smear Blender Jitter brush (a FB friend used this brush quite effectively on an image) in a brownish beige color was added underneath the flower. It was also duplicated, Free Transformed (CTRL+T) where it was reduced and flipped horizontally, and lined up under the flower. A Levels Adjustment Layer and a Hue/Saturation Adjustment Layer were clipped (ALT+click between the layers to clip) to the top texture layer to get the pinkish color. The last texture added just below the flower was made in Corel Painter using the Gravity Bristle Particle Brush (learned how to do this at the end of Commercial Packaging Illustration with Michael Bast Corel video where he shows the technique – I really liked it! Saved it as a PSD to open in Photoshop as a texture.) It was set to Multiply blend mode and an olive green Solid Color Adjustment Layer was clipped to this texture to make it a soft olive green. A stamped version was created on top and Blend If sliders applied before some clean up work was done. A final Levels Adjustment Layer was used to get the effect. Loved creating the textures for this!…..Digital Lady Syd


Leave a Reply
You must be logged in to post a comment.