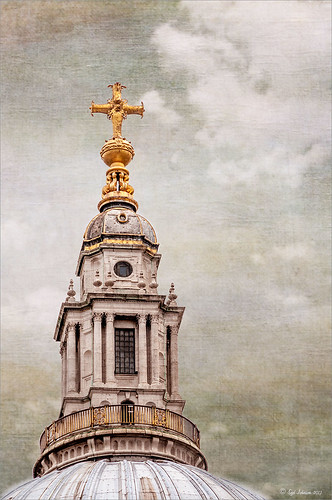
Textured Sky Adds Vintage Feel

This is another tower image from London. Once again, I have no idea what it is connected to, but it is a beautiful cupola. I really liked the final cloth feel on the texture. This image was straightened and just the Basic Sliders were used in Lightroom. Once in Photoshop, I selected the tower, deleted the background, and tried several different texture backgrounds. I ended up with one of my very favorite Flickr Texture people, Lenabem-Anna Textures, Texture 278 – her textures are incredible! This one gives the cloth appearance with just a touch of clouds – perfect for an original image that had no clouds. For this image a Gaussian Blur was added using a Radius of 5.9 just to smooth out the texture in the background but leave the color in the texture. A Levels Adjustment Layer was added and the Midtones slider adjusted a little for more contrast to the whole image. To add the texture back into the whole image, the same texture was applied again on top. A Hue/Saturation Adjustment Layer was clipped (ALT+click between the layers to clip) to the texture and the Saturation slider was set to -100. The texture layer was set to Overlay blend mode at 67% layer opacity. A Color Balance Adjustment Layer was added on top to bring out the gold tones more in the tower. That was it. …..Digital Lady Syd
Digital Lady Syd Related Blogs:
Clarity with Texture!
Where Am I? Edinburgh, Scotland
Getting a Nice Painterly Landscape Effect with Topaz Simplify and Texture


Leave a Reply
You must be logged in to post a comment.