
A Nice Illustrative Look

Another image that required a lot of adjustments but lots of fun to post-process. These Savannah homes had cars and trees and all sorts of things in the way so it is amazing that it turned out looking as good as has. I guess that is why I love Lightroom and Photoshop – it is so fun to see what you can do to an image!
Nothing special in Lightroom – just the basics. Next used Topaz (see sidebar for website link) Black & White Effects 2 to give a bit of an illustrative look to the image and to add a pretty vignette and border. Alien Skin Snap Art 4‘s Pastel Portrait – soft preset was applied and set to 60% layer opacity. Used a Selective Color Adjustment Layer to get the color adjusted. The Puppet Warp Tool was used to slightly spread the roof from the bottom on the right side as it was a little distorted. That was it but it seemed to take a while. Still, the final result turned out so nice…..Digital Lady Syd
Painting for Spring
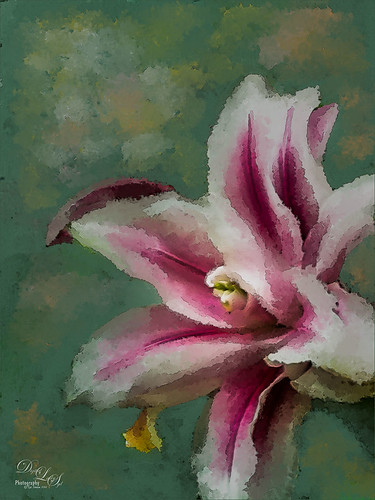
Enjoying learning to use Photoshop to paint. Painted the flower using a Pastel Mixer Brush, then on another layer painted out the background and created a green background with same brush. Added some Mixer Brush splotches of color to add some light interest to the background. Added a Curves Adjustment Layer for contrast and that was it. I really love the spring-like colors!…..Digital Lady Syd
Dainty Little Violet
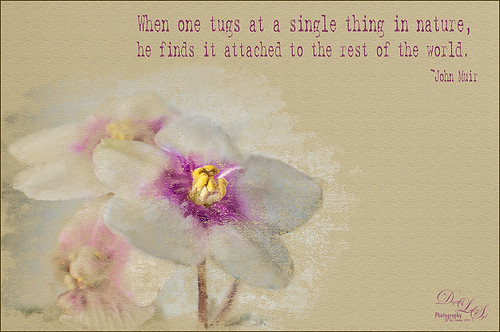 Just playing in Photoshop. This was a photo I took of my blooming violets a while back. Mainly just a little mixer brushing and the Texturizer Filter in Photoshop. The font is Batik Regular. This is just too much fun!…..Digital Lady Syd
Digital Lady Syd Related Blogs:
Learning to Paint in Photoshop
Painting the Old and the New
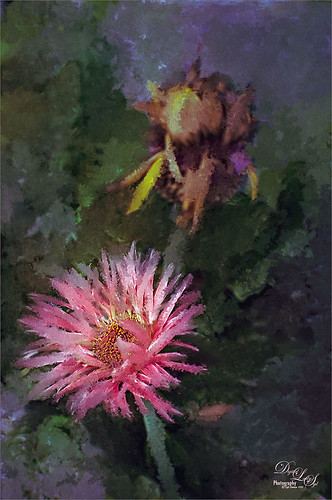
I call this image The Old and The New – these pink gerbera daisies were growing on my back porch. Pretty basic steps here. A pastel mixer brush was used to paint the image on a New Layer above the background layer. French Kiss Collection’s Atelier Valley texture set to Hard Light at 60% opacity was added on top. Topaz (see sidebar for website link) Detail 3 was used to localize the sharpening on the flower with a black mask and painting the effect back in. What really made this image was applying Topaz ReStyle and getting a more interesting color combination. Some contrast was supplied with a Curves Adjustment Layer. Just a lot of fun!…..Digital Lady Syd
The Valentine Tree

This is my Valentine Tree that I created using some of Melissa Gallo of Painted Textures painting tips in her wonderful videos on Painting with Photoshop. This was so much fun to do. French Kiss Tableaux Symphony texture was set to Darker Color blend mode at 40% layer opacity. Then an image I created giving the cloudlike feel was placed above it and set to Multiply blend mode. All the heart effects were created using just one brush – the Valentine Brush by Digital Touch – just set to different sizes and layer styles. The silhouette is Romantic Couples 2496 from photoshopfreebrushes.com. Obsidian Dawn’s Glitter Sets Hearts-Glitter was applied as a snow effect on top. The Valentine Tree text is by MC Sweetie Hearts font. The other text is from Cosmi and is called 31 – not sure it is available anymore. A little localized sharpening on the tree and some contrast to the whole image finished up the effect. I hope everyone has a wonderful Valentines Day and has a little Photoshop Fun also!…..Digital Lady Syd
Swan Fountain
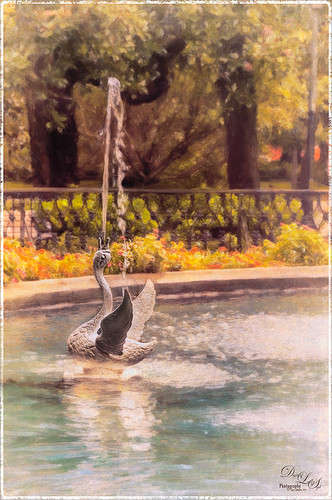
Loved the Forsyth Fountain in Forsyth Park in historic Savannah, Georgia. The whole fountain is rather magnificent! This image is just of one of the little swans spewing water around the main fountain. Just the basic slider changes were done in Lightroom. Once brought into Photoshop, the image was processed using the modified Factory Setting from Snap Art 3 – for Snap Art 4 I created a matching preset so I could continue using it. There were three layers selecting different parts of the image in Snap Art. Some clean up and sharpening was done and a Curves Adjustment Layer was added for contrast. Kim Klassen’s Cloth & Paper Reign texture was set to Multiply blend mode at 100% and the old OnOne PhotoFrame grunge 13 was added as a last step. Very easy to do and very pretty result!…..Digital Lady Syd
Mixers for Margaritas!
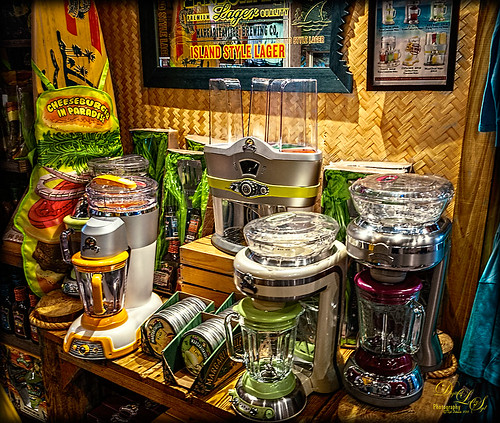
Totally loved this display taken at the Margaritaville on City Walk, Universal Studios, Orlando, Florida. I could actually see myself making up a wonderful batch of Margaritas with one of these gorgeous mixers! There really was not much processing done here. Just a few basic sliders and some cropping in Lightroom. Did some LAB sharpening this time since there were so many details. ( See my Unsharp Mask Filter In LAB Mode blog for more info on this.) Topaz (see sidebar for website link) Detail 3 was used to sharpen a little more. A Color Balance Adjustment Layer was added and the Midtones were set to 0/-25/-60 to bring out the yellows in the texture a little more. Last step was Topaz ReStyle – just overall brightened up the image. (ReStyle settings: Started with Dark Goldenrod Sunset preset. Color Style Hue Fifth -0.50; Sat Primary 0.08, Secondary 0.02, Third 0.25 and Fifth 0.13; and Lum Primary -0.41, Secondary 0.31 and Fifth -0.03; and Texture Strength 0.72; Basic Tone Black Level -0.12, Midtones 0.09, and White Level 0.11; and Detail Structure 0.28, and Sharpness 0.06.) Just more fun in Photoshop!…..Digital Lady Syd
Using Pattern Overlay Layer Style to Get a Retro Feel

Had to visit Kokomo Cafe on Flagler Beach in Florida since I grew up in Kokomo, Indiana. Wonderful little place to get a nice breakfast (the pastries are to die for) or lunch and only a block off the beach. Did the regular processing in Lightroom before opening up in Photoshop. Painted Textures Mist was added and the Layer Style was opened. A Gradient Overlay using a Linear Dodge (Added) at 24% opacity and using Grad 2 gradient and a Pattern Overlay was added using the original image turned into a pattern (on background layer go to Edit -> Define Pattern – it appears at bottom of list) and set to blend mode Hard Light at 54% opacity and Scale to 120%. Now you can actually turn off the bottom layer and image shows up in the texture. Pretty cool! A Levels Adjustment Layer was added with black tab setting of 14 and Midtone setting of 0.71 to add contrast back into the image. Topaz (see sidebar for website link) ReStyle was added using the Hanging Orangutan preset. (Plug-ing settings were: ReStyle Opacity to 76%, Color Restyle changes: Sat Third (-0.41) and Fourth (-0.39); and Texture Strength 0.73; Basic Tone Midtones (-0.23); and Detail Structure (-0.67) and Sharpness 0.81.) Nik Viveza 2 was added using three control points to direct attention into the center of the image. The last step involved adding my free SJ Thin Double Edge Frame, sampling the Inner Glow color from the image. Once again there is a nice retro feel to this image, which so fits the area…..Digital Lady Syd
Digital Lady Syd Related Blogs:
How to Add a Little Retro to Your Shots


